Integrating with Internet Identity
May 19, 2021
Hi again! It's been an exciting couple of weeks. In case you missed it, I was a part of the Internet Computer Genesis event, and gave a talk on static site generators based on my blog post from a few weeks back. I've go ahead and added the video to the original page if you want to check that out.
Another topic with a lot of emphasis during the event was the new Internet Identity application. I ended up joining that team, and was heavily involved in getting the first prototype running, as well as managing the JavaScript packages that support the app, and a new package dedicated to integrating with it.
Here's a link to the Github Repository where you can explore the code we'll cover here: https://github.com/krpeacock/auth-client-demo
Back up, what's an Internet Identity?
To start, check out Dom's intro, and my colleague Joachim's presentation from the Genesis event.
The Internet Identity is a new authentication provider, filling a similar niche to the ubiquitous Login with Google or Facebook buttons you will see around the web.
From a user perspective, it is a way to bypass having to plug you information into every new site, so that you can just click a couple buttons and get on with whatever you wanted to do. From a developer perspective, this is another way that you can reduce friction for users on your app, so that you don't have to implement your own authentication strategy. It's a win-win, and that's why these tools are popular!
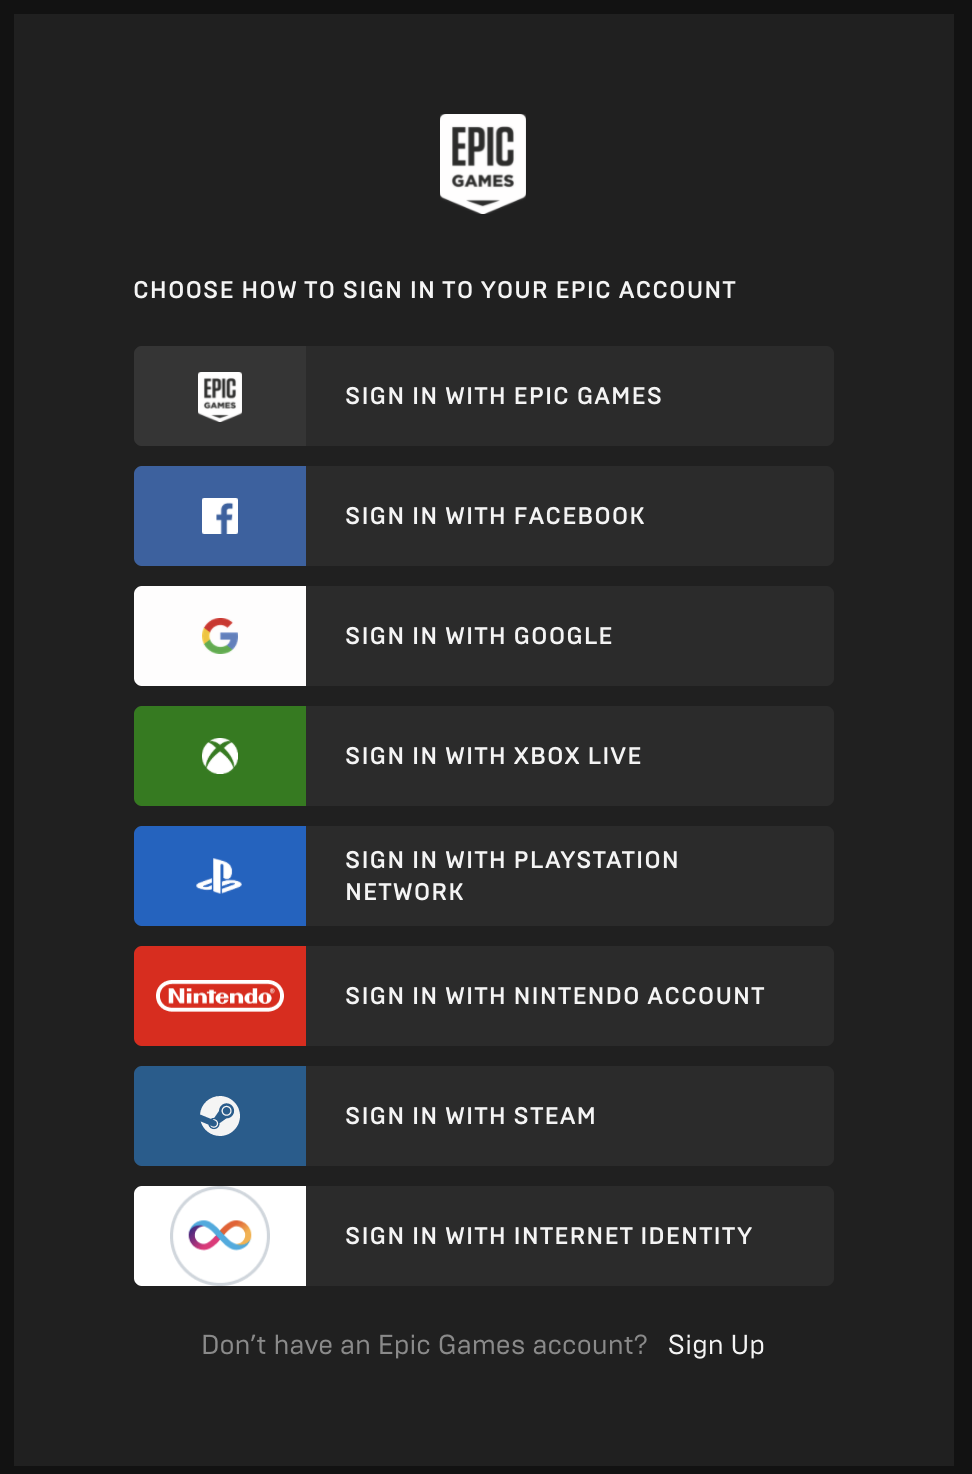 Mockup of Internet Identity among other providers
The Internet Identity at this stage knows almost nothing about you. There is no username or password. You don't provide an email to sign up. There are no seed phrases, One-time-passwords, authenticator apps, or email confirmations. It is built on the browser standard of Web Authentication, which has a significant level of support now and is getting better every year.
The Internet Identity app associates your various devices and gives you an identity that you can use seamlessly across applications once you've set them up.
I'm sold - how do I get started?
Glad to hear it! Getting started is fairly simple, thanks to our npm package, @dfinity/auth-client.
To start, I've set up an extremely simple whoami backend service:
// Main.mo
actor {
    public shared (msg) func whoami() : async Principal {
        msg.caller
    };
};
This actor has one method, whoami, which will respond back with the message's caller. This is how we can test whether we are making the reqest with an AnonymousIdentity, or an authenticated Internet Identity.
Next, we'll set up our frontend logic. I'll share the full script here, and then break down the steps.
// index.ts
import { Actor, HttpAgent } from "@dfinity/agent";
import { AuthClient } from "@dfinity/auth-client";
import idlFactory from "./did";
import type { _SERVICE } from "./did";
import { renderIndex } from "./views";
import { renderLoggedIn } from "./views/loggedIn";

const init = async () => {
  const authClient = await AuthClient.create();
  if (await authClient.isAuthenticated()) {
    handleAuthenticated(authClient);
  }
  renderIndex();

  const loginButton = document.getElementById(
    "loginButton"
  ) as HTMLButtonElement;
  loginButton.onclick = async () => {
    await authClient.login({
      onSuccess: async () => {
        handleAuthenticated(authClient);
      },
    });
  };
};

async function handleAuthenticated(authClient: AuthClient) {
  const identity = await authClient.getIdentity();

  const agent = new HttpAgent({ identity });
  console.log(process.env.CANISTER_ID);
  const whoami_actor = Actor.createActor<_SERVICE>(idlFactory, {
    agent,
    canisterId: process.env.CANISTER_ID as string,
  });
  renderLoggedIn(whoami_actor, authClient);
}

init();
Setting up
Okay, so let's cover the core logic. First, we import the AuthClient from @dfinity/auth-client. Then, we initialize it with
const authClient = await AuthClient.create();
If the user has previously logged in, by the time that the create promise resolves, they will already have their identity from before, and we can verify that with
if (await authClient.isAuthenticated()) {
  handleAuthenticated(authClient);
}
Then, we add an event listener to our login button that dispatches the authClient login method. that looks like
loginButton.onclick = async () => {
  await authClient.login({
    onSuccess: async () => {
      handleAuthenticated(authClient);
    },
  });
};
The login method will open a new window, pointing to https://identity.ic0.app by default. Your user can then go authenticate, and once they complete the flow, the Internet Identity app will send a postMessage back to the demo app, call the success callback, and close the Internet Identity window.
Important development note
Signatures from identity.ic0.app won't be accepted on your local replica.
The Internet Identity signs its delegation using the root (public) key of the Internet Computer, and for now the development replica in dfx doesn't know to check signatures from the mainnet. You will need to run a local instance of the Internet Identity app, and configure the authClient to login with the local url, which will look something like this for local development:
await authClient.login({
  onSuccess: async () => {
    handleAuthenticated(authClient);
  },
  identityProvider: "http://localhost:8000?canisterId={identity_canister_id}"
});
Using the identity
After logging in with an Internet Identity, the authClient instance now has everything you need to start making authenticated calls to your backend.
For this, I've passed the authClient instance to my handleAuthenticated method, where we use it to set up a normal JS Actor from @dfinity/agent.
async function handleAuthenticated(authClient: AuthClient) {
  const identity = await authClient.getIdentity();

  const agent = new HttpAgent({ identity });
  console.log(process.env.CANISTER_ID);
  const whoami_actor = Actor.createActor<_SERVICE>(idlFactory, {
    agent,
    canisterId: process.env.CANISTER_ID as string,
  });
  renderLoggedIn(whoami_actor, authClient);
}
The authClient provides us with an identity that we can use to initialize an authenticated HttpAgent.
That agent can be used to create an actor (note: the <_SERVICE> typing will provide nice types in TypeScript from the auto-generated whoami interface). The resulting whoami_actor is then ready to make calls, so we then render a test form, which calls whoami_actor.whoami() and displays the result.
You can check out the code for that view in https://github.com/krpeacock/auth-client-demo/blob/main/src/frontend/src/views/loggedIn.ts.
 Final result after authenticating
Final thoughts
The Internet Identity app still has some growing pains to go through, but I'm very pleased with how simple it is to add it to a web app on the IC. Authentication and protecting PII is always a difficult challenge, and this is an option that will allow users to use your app with a consistent identity without divulging any personal information or trusting you to secure a password for them.
I hope this guide was helpful, and as always, I look forward to seeing what you build!