Working with Candid
Jul 27, 2021
Candid is a very useful part of the Internet Computer ecosystem. It is the interface that allows Canisters to talk to each other and for agents to make calls to Canisters. The default workflow we currently show you in our tutorials is basically "write Motoko code and we'll make the rest happen magically for you using dfx". However, once you've strayed off the beaten path a bit, things have probably gotten more complicated. The goal of this post is to break down how to work with Candid for your application.
Working from a .did file
There are situations where you may have a Candid .did file that you want to work with, but don't have the source code available. This could happen for a couple reasons - the service may be an existing canister, already running on the Internet Computer mainnet. Alternately, you could be working on a project where the backend is being developed separately, and you need to work on your portion of the code based on an agreed-upon .did file.
Setting up
To illustrate this, I'll create an example project.
dfx new no_backend
cd no_backend
Now, inside my project, I'll remove src/no_backend and clean up dfx.json. I'll remove the no_backend canister, and I'll remove the dependencies from no_backend_assets.
// dfx.json
{
  "canisters": {
    "no_backend_assets": {
      "frontend": {
        "entrypoint": "src/no_backend_assets/src/index.html"
      },
      "source": [
        "src/no_backend_assets/assets",
        "dist/no_backend_assets/"
      ],
      "type": "assets"
    }
  },
  "defaults": {
    "build": {
      "args": "",
      "packtool": ""
    }
  },
  "dfx": "0.8.0",
  "networks": {
    "local": {
      "bind": "127.0.0.1:8000",
      "type": "ephemeral"
    }
  },
  "version": 1
}
Then, update the webpack environment variable to point to the canister you want to talk to. In this case, we'll always be talking to production, but you can configure different options for different environments based on DFX_NETWORK as you see fit.
// webpack.config.js
new webpack.EnvironmentPlugin({
    NODE_ENV: 'development',
    IDENTITY_CANISTER_ID: "rdmx6-jaaaa-aaaaa-aaadq-cai" // production Internet Identity canister
}),
Now, I'll need to find a candid interface I want to interact with. For now, I'll go with the Internet Identity canister. I can find my interface by going to ic.rocks/canisters, and selecting the NNS subnet, System tdb26.
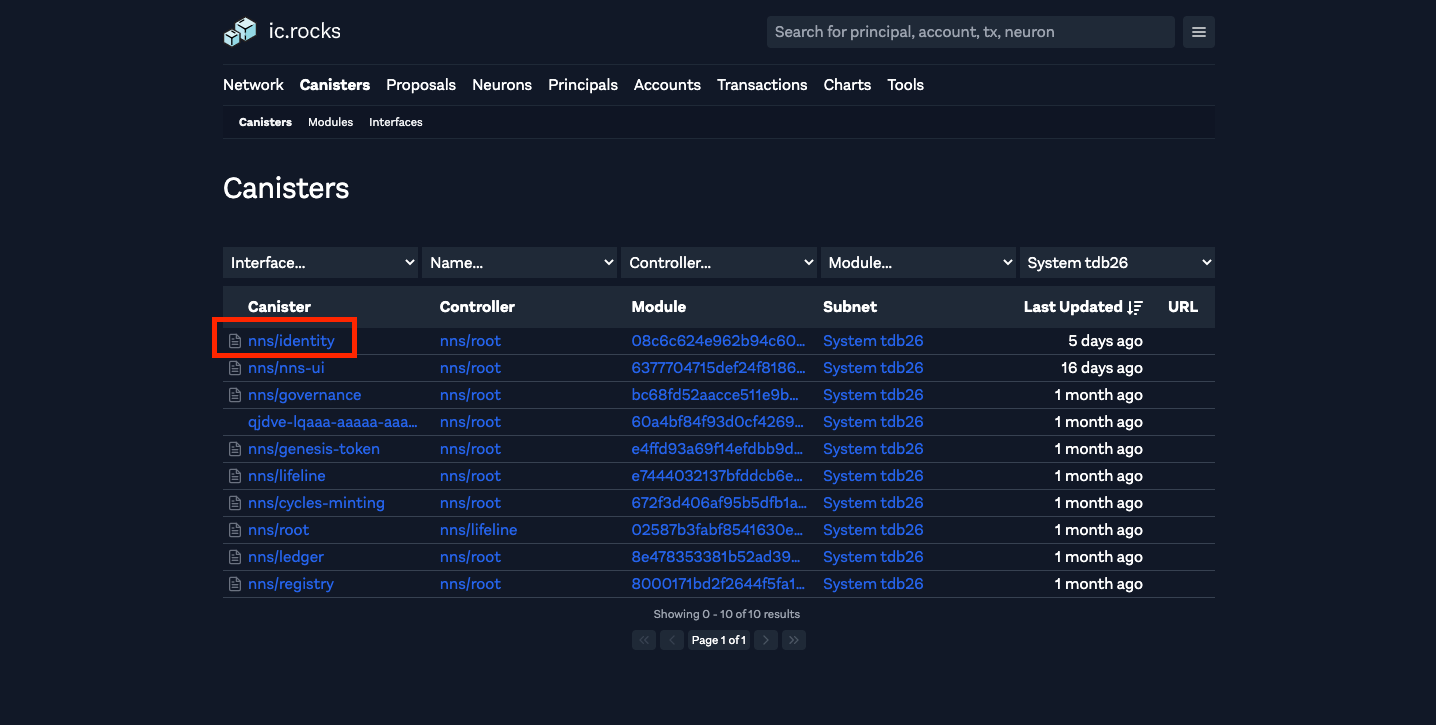 IC Rocks canister inspection view
Then, after clicking on the Identity canister, I can scroll down and see the Candid interface of the Internet Identity canister. I'll copy this file, and add it under src/identity as a new file, identity.did.
Generating types using DFX
// src/declarations/identity.did
type UserNumber = nat64;
type PublicKey = blob;
type CredentialId = blob;
type DeviceKey = PublicKey;
type UserKey = PublicKey;
type SessionKey = PublicKey;
type FrontendHostname = text;
type Timestamp = nat64;

...

service : (opt InternetIdentityInit) -> {
  init_salt: () -> ();
  register : (DeviceData, ProofOfWork) -> (RegisterResponse);
  add : (UserNumber, DeviceData) -> ();
  remove : (UserNumber, DeviceKey) -> ();
  lookup : (UserNumber) -> (vec DeviceData) query;
  get_principal : (UserNumber, FrontendHostname) -> (principal) query;
  stats : () -> (InternetIdentityStats) query;

  prepare_delegation : (UserNumber, FrontendHostname, SessionKey, maxTimeToLive : opt nat64) -> (UserKey, Timestamp);
  get_delegation: (UserNumber, FrontendHostname, SessionKey, Timestamp) -> (GetDelegationResponse) query;

  http_request: (request: HttpRequest) -> (HttpResponse) query;
}
I'll also create an empty identity.wasm file under src/identity. This will be important for the next step.
With the interface in place, I can have dfx generate declarations for the Identity canister by creating a placeholder canister.
{
  "canisters": {
    "identity": {
      "candid": "src/identity/identity.did",
      "type": "custom",
      "wasm": "src/identity/identity.wasm"
    },
    ...
This configuration tells dfx that there is a custom canister, with a .did file and the empty wasm, which will allow it to generate the types for you. To have dfx generate your types, run the following commands:
dfx canister create no_backend_assets
dfx canister create identity
dfx build
npm run copy:types
Now, your canister should have created types for the no_backend_assets and identity canisters and copied them into your src/declarations folder. You can git commit those files, and now all that remains is to update webpack.config.js to point to the live Identity canister.
Now, src/declarations/identity/index.js has automatically generated your types. If you are done with the canister, you can delete the code out of dfx.json and continue on with local development.
Generating Types using didc
So, that method is messy. It's convenient, in that you don't need to install any additional software. That said, if you are willing to install our Candid type generation tool, didc, you can have a simpler setup.
Installing didc
You can go to https://github.com/dfinity/candid/releases and install didc for your environment. didc-macos for Mac and didc-linux64 for linux. If you save it as didc, you can add it to your PATH in ~/bin, with an alias, or whatever your preference is.
I have also written a shell script to automatically install the latest build of didc for you:
unameOut="$(uname -s)"
case "${unameOut}" in
    Linux*)     machine=Linux;;
    Darwin*)    machine=Mac;;
    *)          machine="UNKNOWN:${unameOut}"
esac

release=$(curl --silent "https://api.github.com/repos/dfinity/candid/releases/latest" | grep -e '"tag_name"' | cut -c 16-25)

if [ ${machine} = "Mac" ]
then
  echo "Downloading didc for Mac to ~/bin/didc"
  curl -fsSL https://github.com/dfinity/candid/releases/download/${release}/didc-macos > ~/bin/didc
elif [ ${machine} = "Linux" ]
then
  echo "Downloading didc for Linux to ~/bin/didc"
  curl -fsSL https://github.com/dfinity/candid/releases/download/${release}/didc-linux64 > ~/bin/didc
else
  echo "Could not detect a supported operating system. Please note that didc is currently only supported for Mac and Linux"
fi

date
If you run this, you should have didc downloaded and saved to ~/bin/didc automatically.
Using didc to generate types
If we back up to the end of setting up, we can bypass using dfx to generate the types and just generate them ourselves.
In package.json, we can add three scripts:
// package.json
"generate:types": "npm run generate:idl; npm run generate:ts",
"generate:idl": "didc bind ./src/identity.did -t js > src/declarations/identity/identity.did.js"
"generate:ts": "didc bind ./src/identity.did -t ts > src/declarations/identity/identity.did.d.ts"
Now, running npm run generate:types will generate both an IDL interface and a set of typescript declarations, just like dfx was doing for us.
Writing a custom index
Next, we need to add an index file for our declarations, mimicking the one that dfx auto-generates. If you are using a different name for the canister you are talking to other than identity, replace all instances of it in your code.
// src/declarations/identity/index.js
import { Actor, HttpAgent } from "@dfinity/agent";

// Imports and re-exports candid interface
import { idlFactory } from './identity.did.js';
export { idlFactory } from './identity.did.js';
// CANISTER_ID is replaced by webpack based on node environment
export const canisterId = process.env.IDENTITY_CANISTER_ID;

/**
 *
 * @param {string | import("@dfinity/principal").Principal} canisterId Canister ID of Agent
 * @param {{agentOptions?: import("@dfinity/agent").HttpAgentOptions; actorOptions?: import("@dfinity/agent").ActorConfig}} [options]
 * @return {import("@dfinity/agent").ActorSubclass<import("./identity.did.js")._SERVICE>}
 */
 export const createActor = (canisterId, options) => {
  const agent = new HttpAgent({ ...options?.agentOptions });

  // Fetch root key for certificate validation during development
  if(process.env.NODE_ENV !== "production") {
    agent.fetchRootKey().catch(err=>{
      console.warn("Unable to fetch root key. Check to ensure that your local replica is running");
      console.error(err);
    });
  }

  // Creates an actor with using the candid interface and the HttpAgent
  return Actor.createActor(idlFactory, {
    agent,
    canisterId,
    ...options?.actorOptions,
  });
};

/**
 * A ready-to-use agent for the identity canister
 * @type {import("@dfinity/agent").ActorSubclass<import("./identity.did.js")._SERVICE>}
 */
 export const identity = createActor(canisterId);
And with that, you've done all the magic that dfx was doing for you! Your new file imports the IDL and types and exports an identity actor as well as a createActor utility method. I hope this serves as a useful reference!