Deploying Your First Canister (NNS dapp)
Jun 29, 2021
So, you have some ICP utility tokens and you're interested in spinning up your first Canister on the Internet Computer. This guide will get you started with everything you need, and walk you step-by-step through everything you need to do, using the NNS dapp.
Prerequesites
- A https://nns.ic0.app wallet, logged in
- ~5 US dollars worth of ICP transfered to your wallet address
- Computer with
dfxsdk installed from https://sdk.dfinity.org
Create your Canister
To begin, log in to your https://nns.ic0.app account and verify your balance.
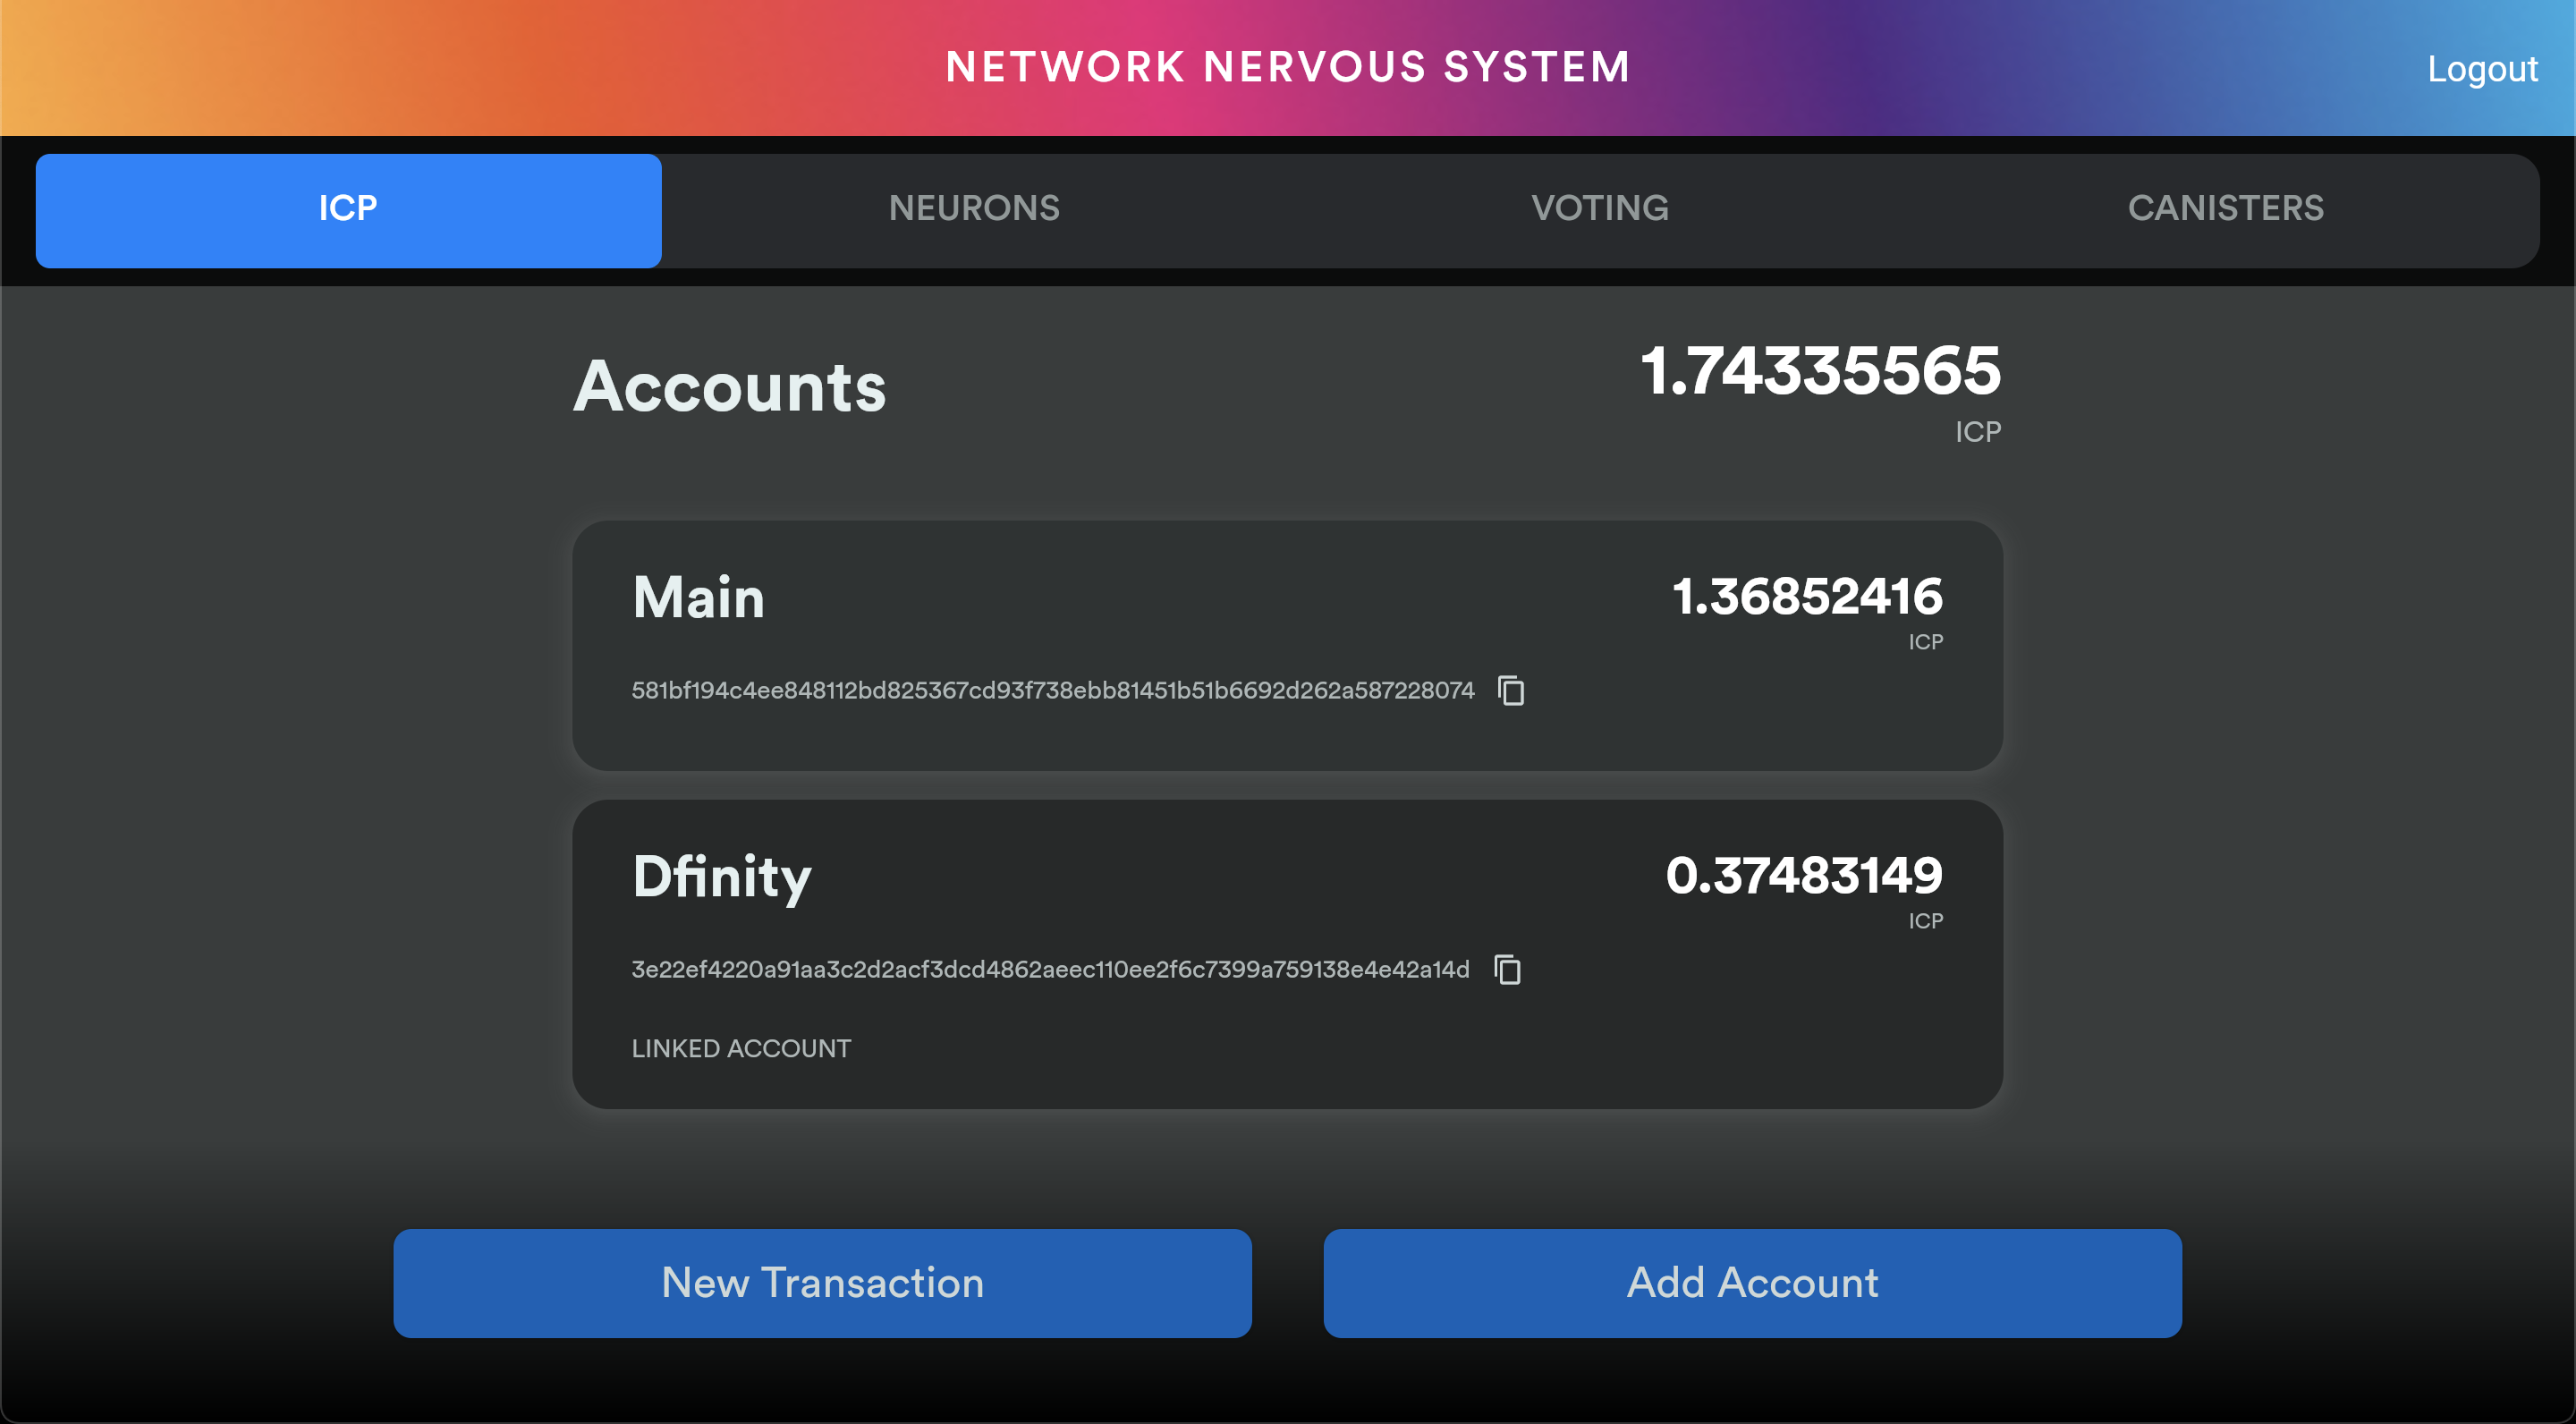 NNS dashboard with funded accounts
Next, navigate to the CANISTERS tab in the top right. You should see the screen below:
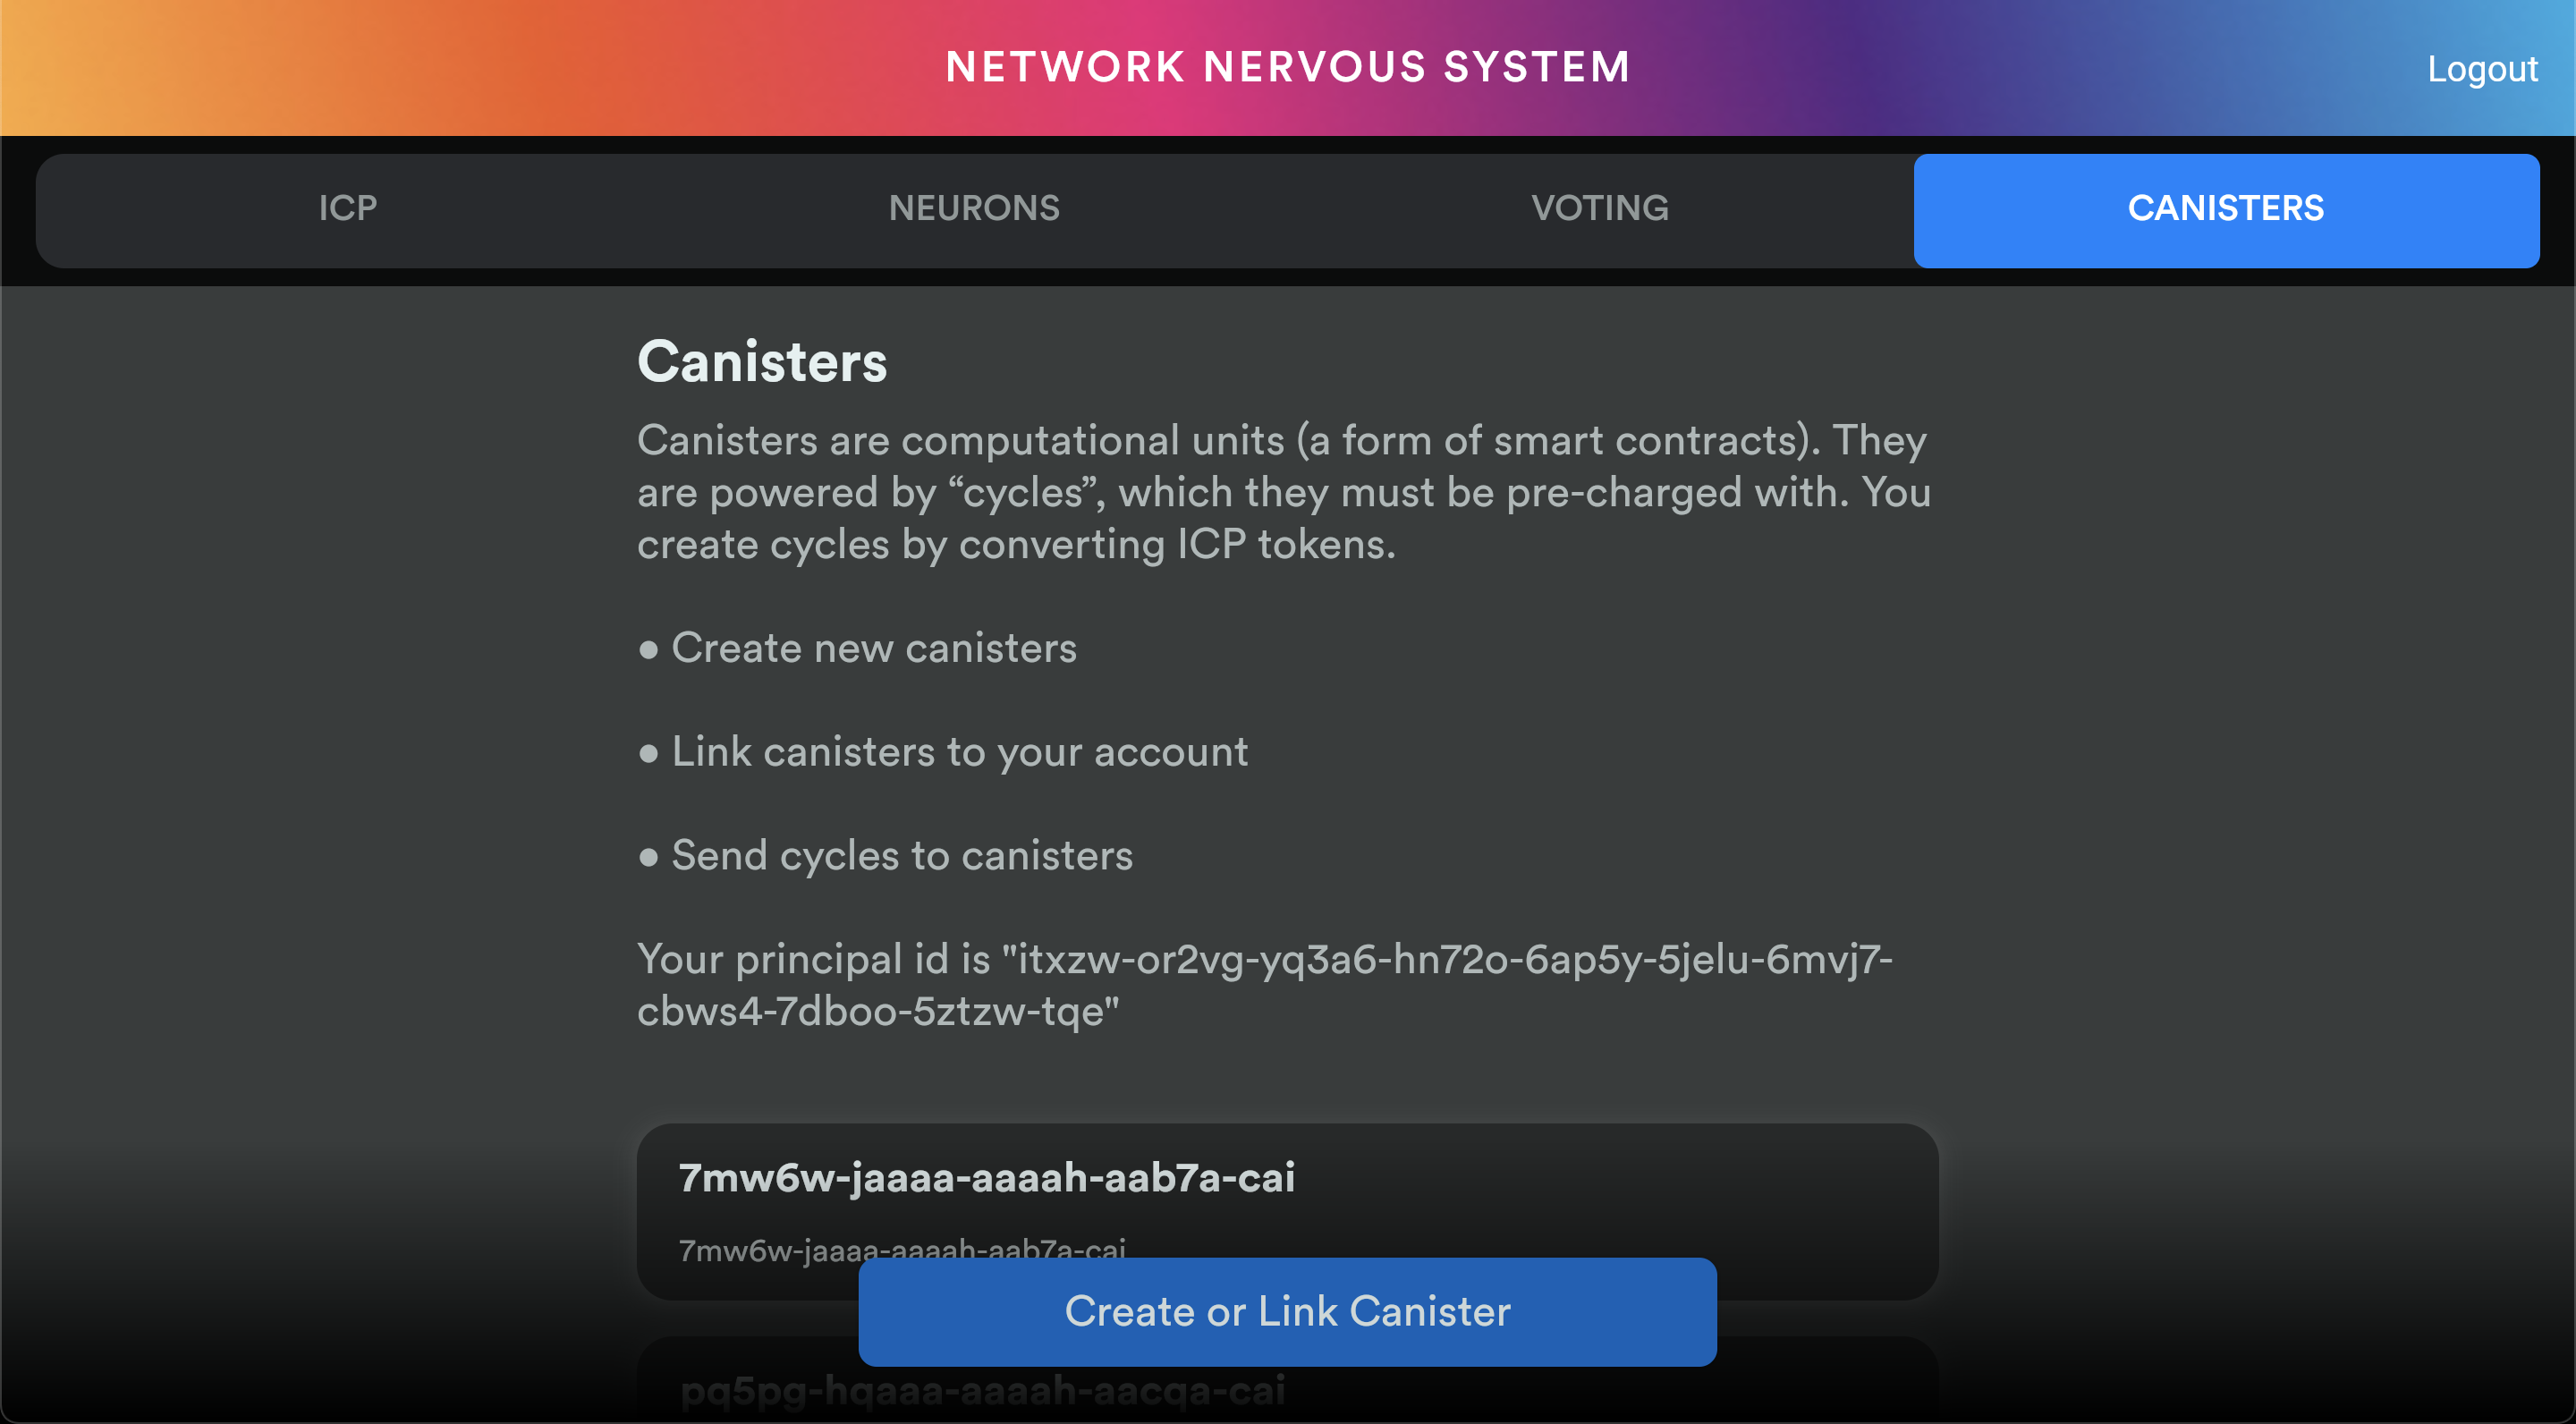 Canister view
Click the blue Create or Link Canister button at the bottom of your page to open up the dialog.
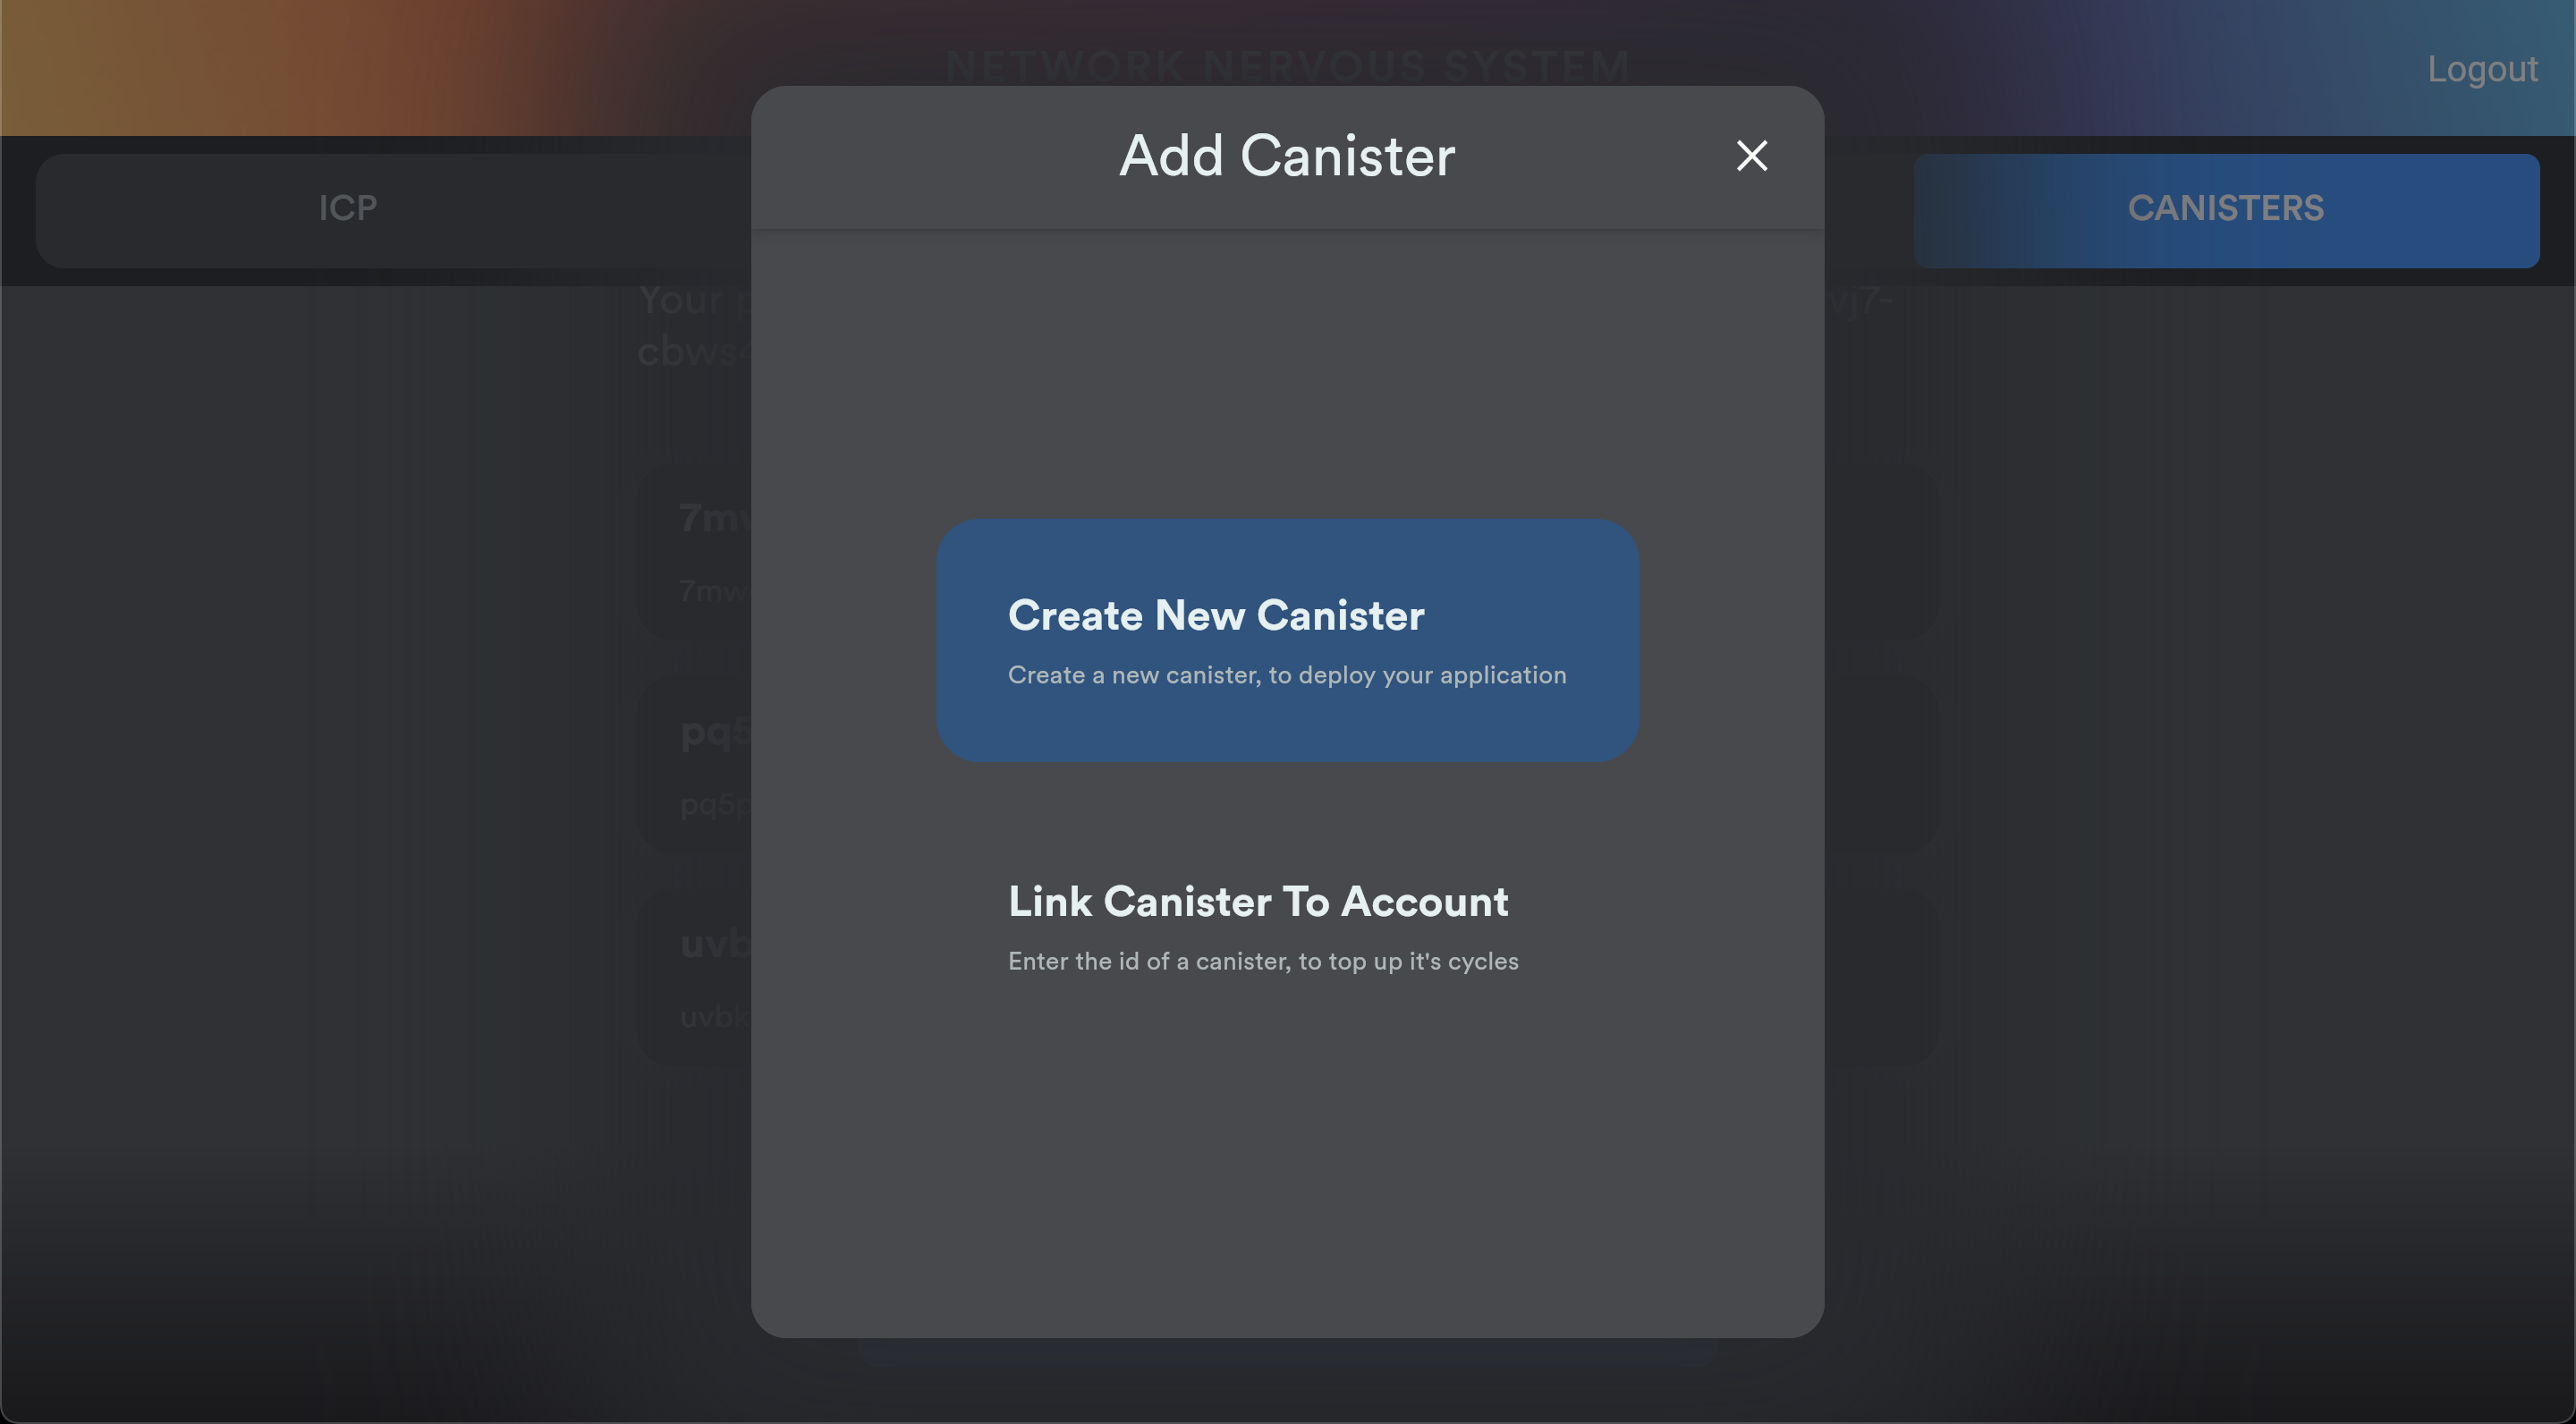 Canister creation dialog
Click the Create New Canister button. Then, select the ICP account that you want to use to fund your new canister.
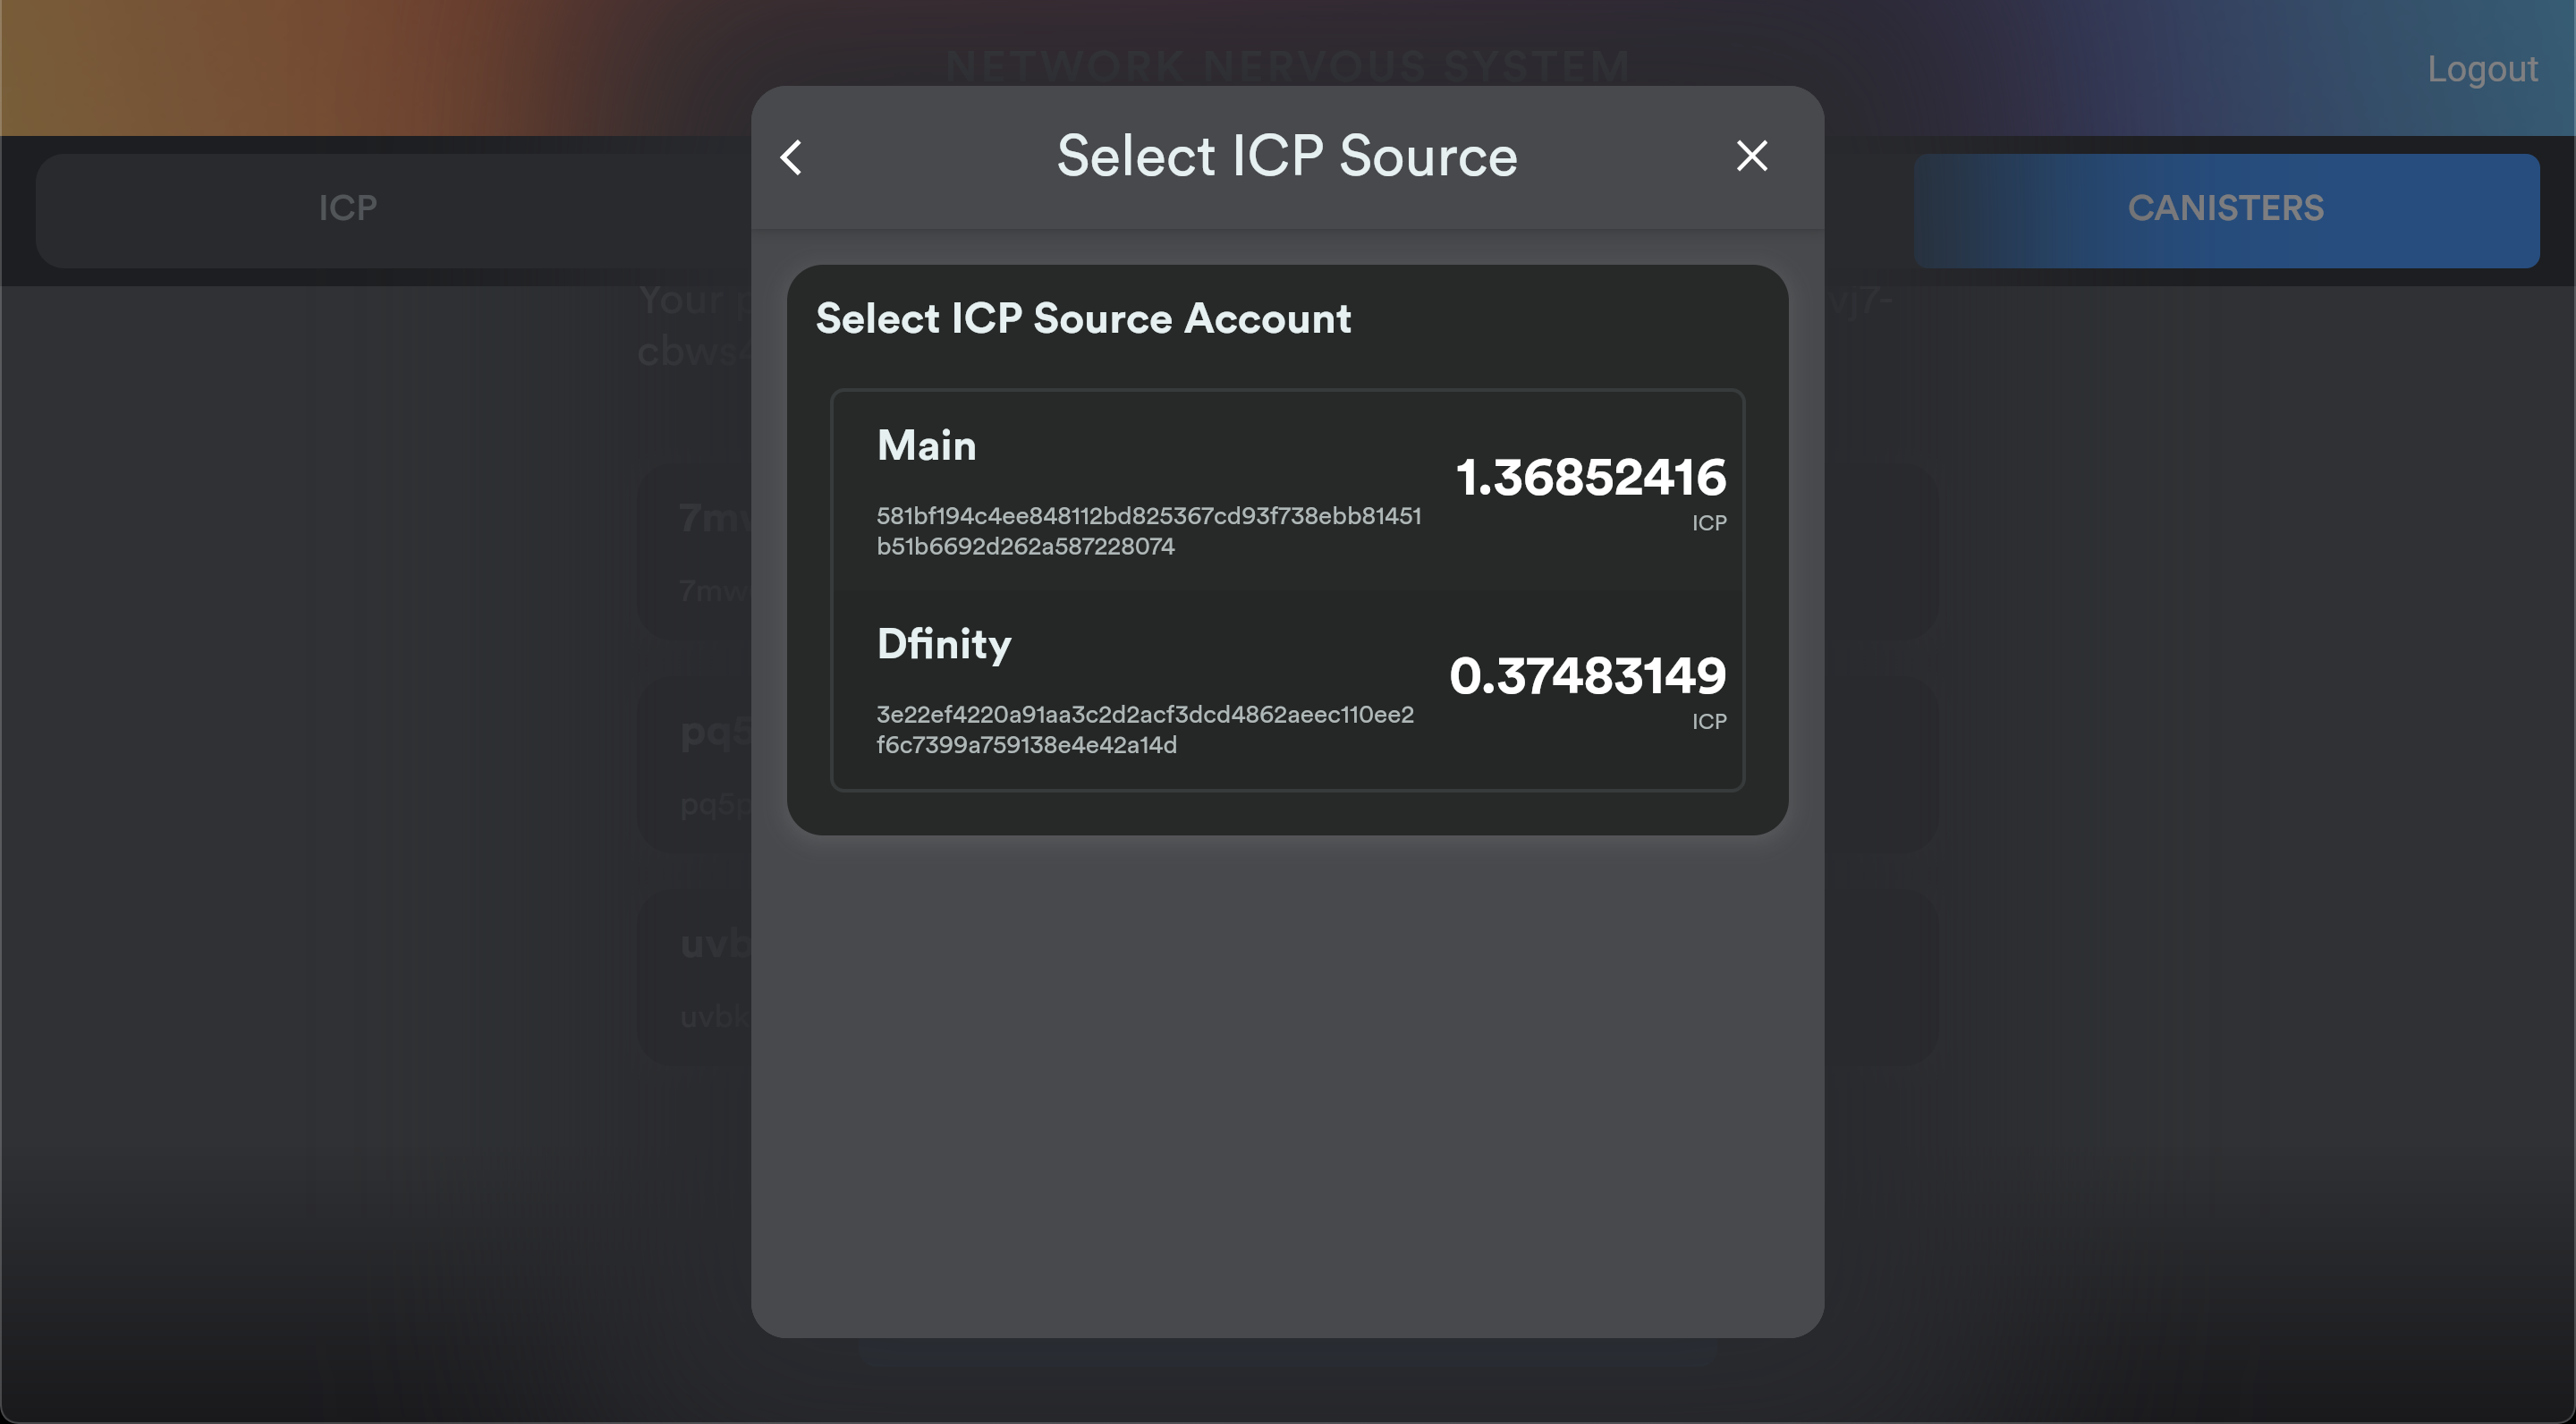 Select ICP Source Account
You'll then be prompted to enter an amount. For now, we will enter 5 into the T Cycles (trillion cycles) input. 5 trillion cycles calculates to ~65¢ per 1T, so around $3.25 USD.
Creating a Canister comes with a 1T fee, so that will leave you with 4T cycles left to run your Canister.
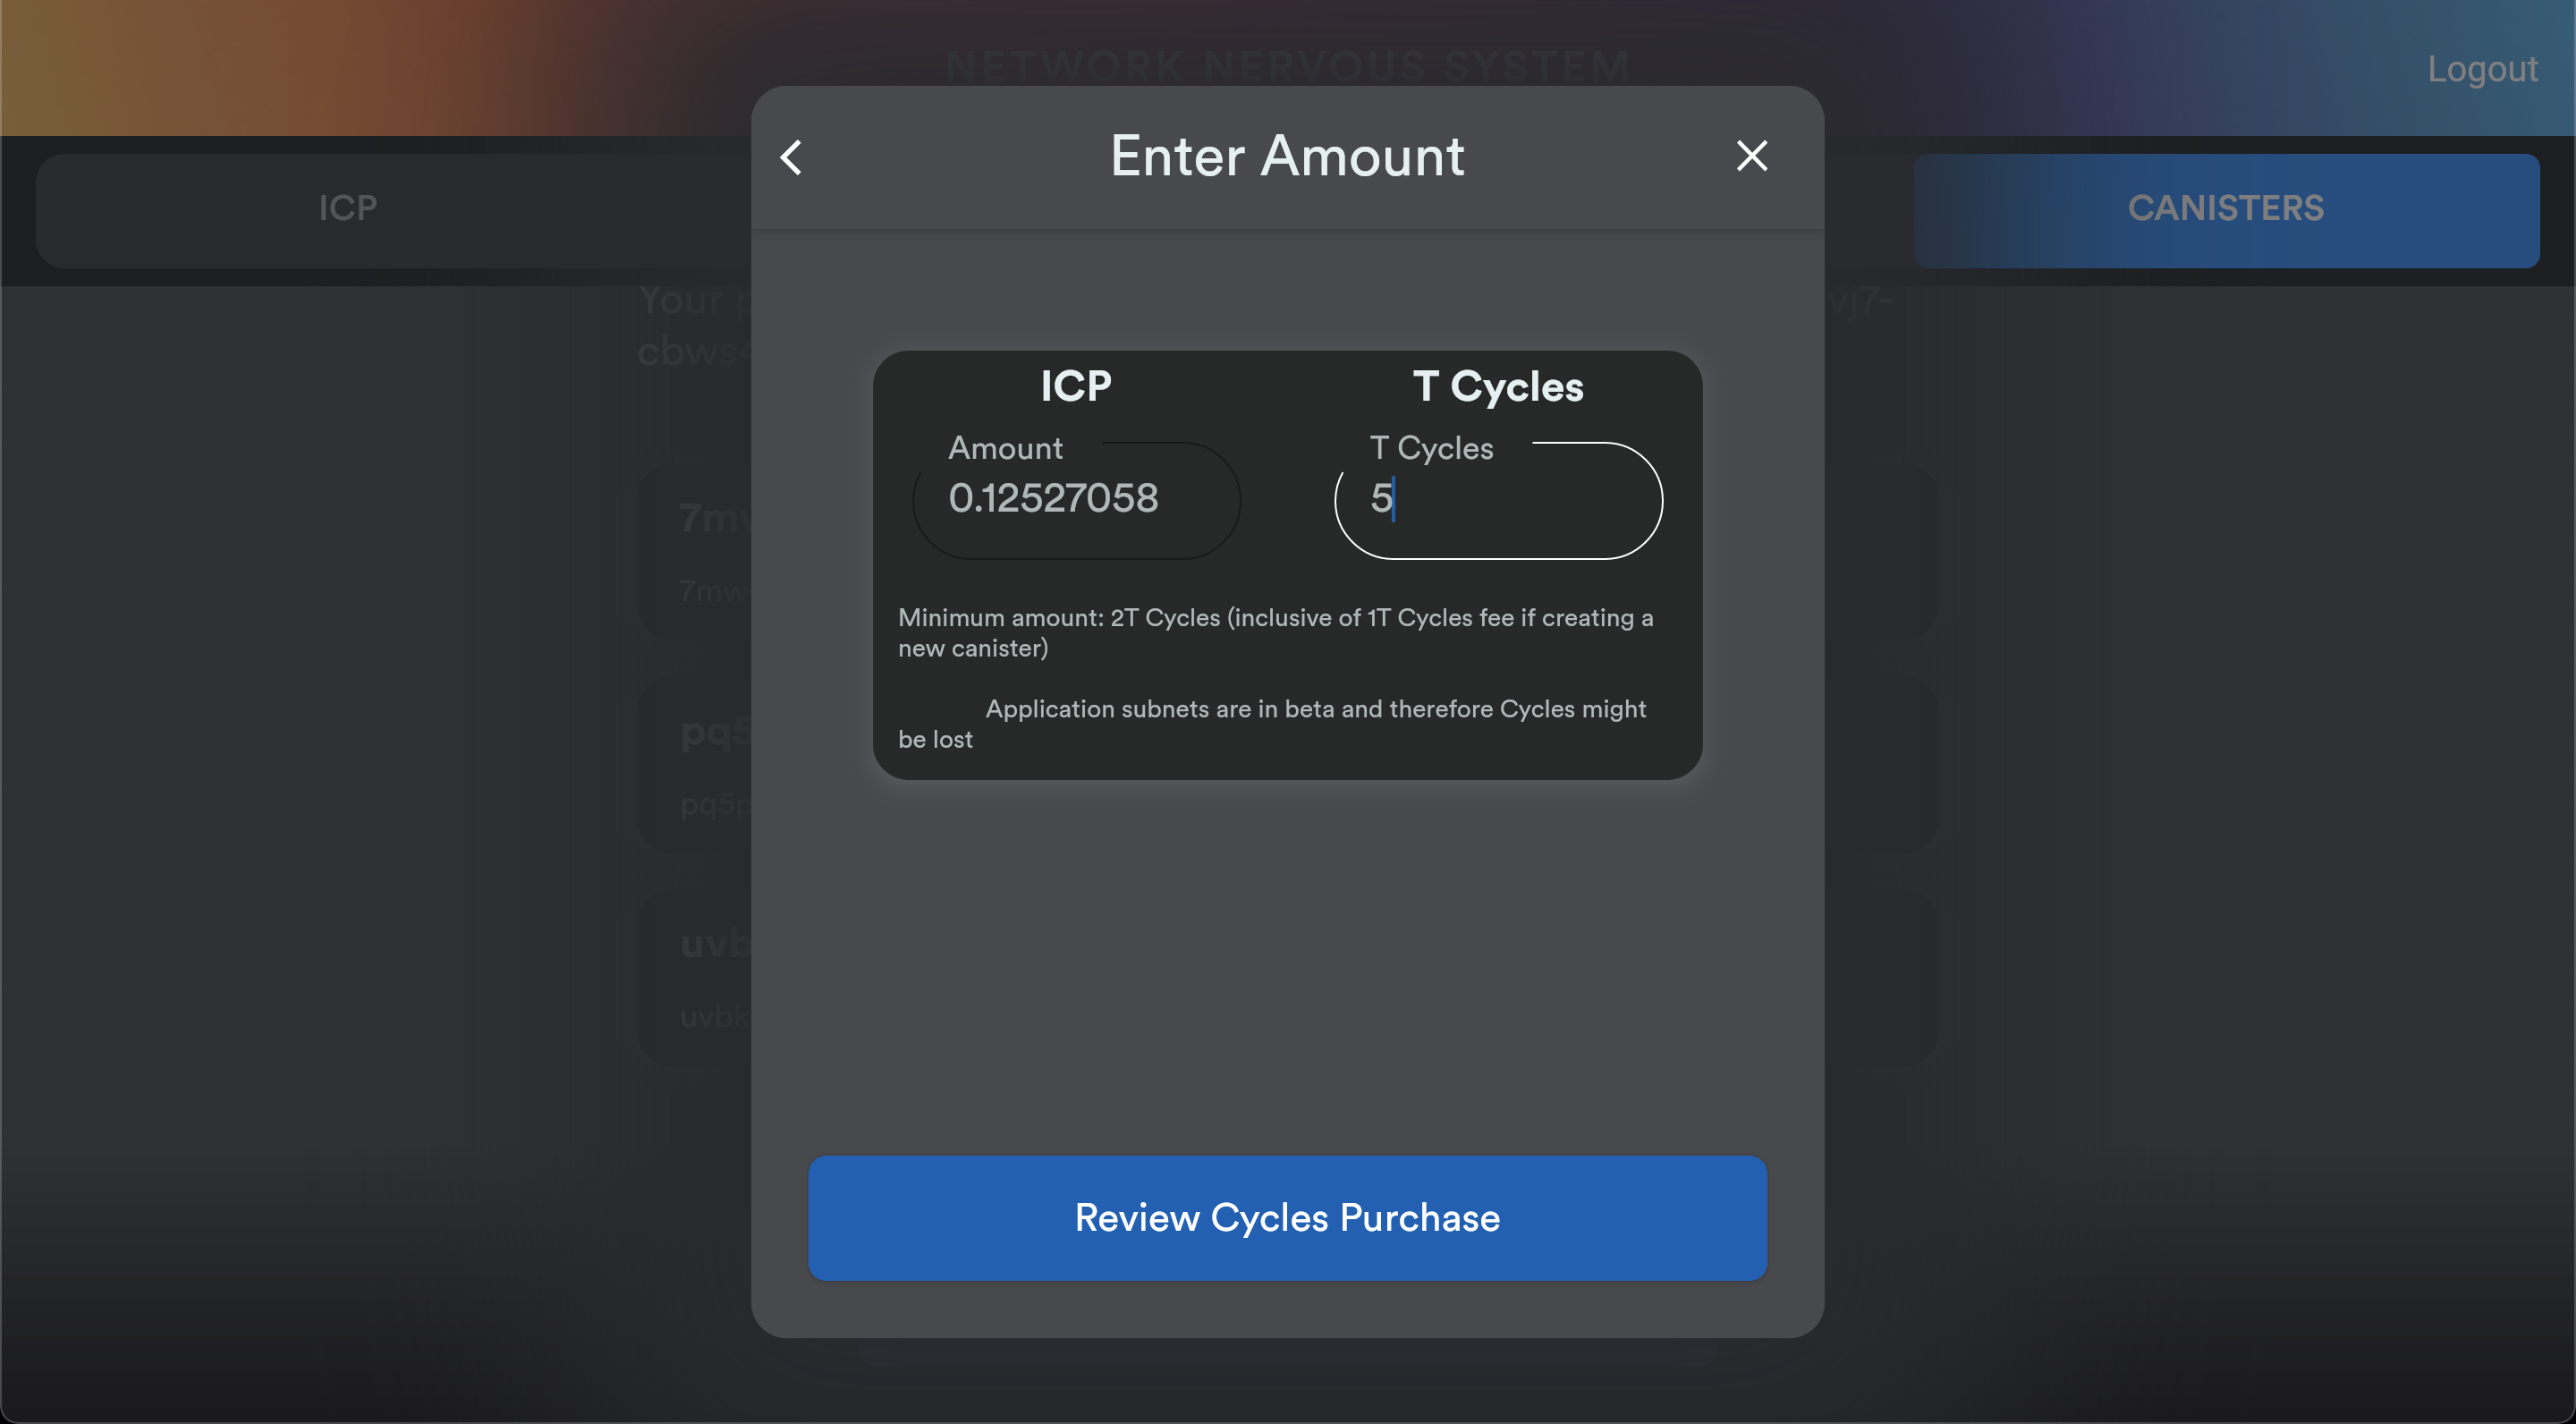 Entering in amount to fund your Canister
Click Review Cycles Purchase, and then review on the following screen
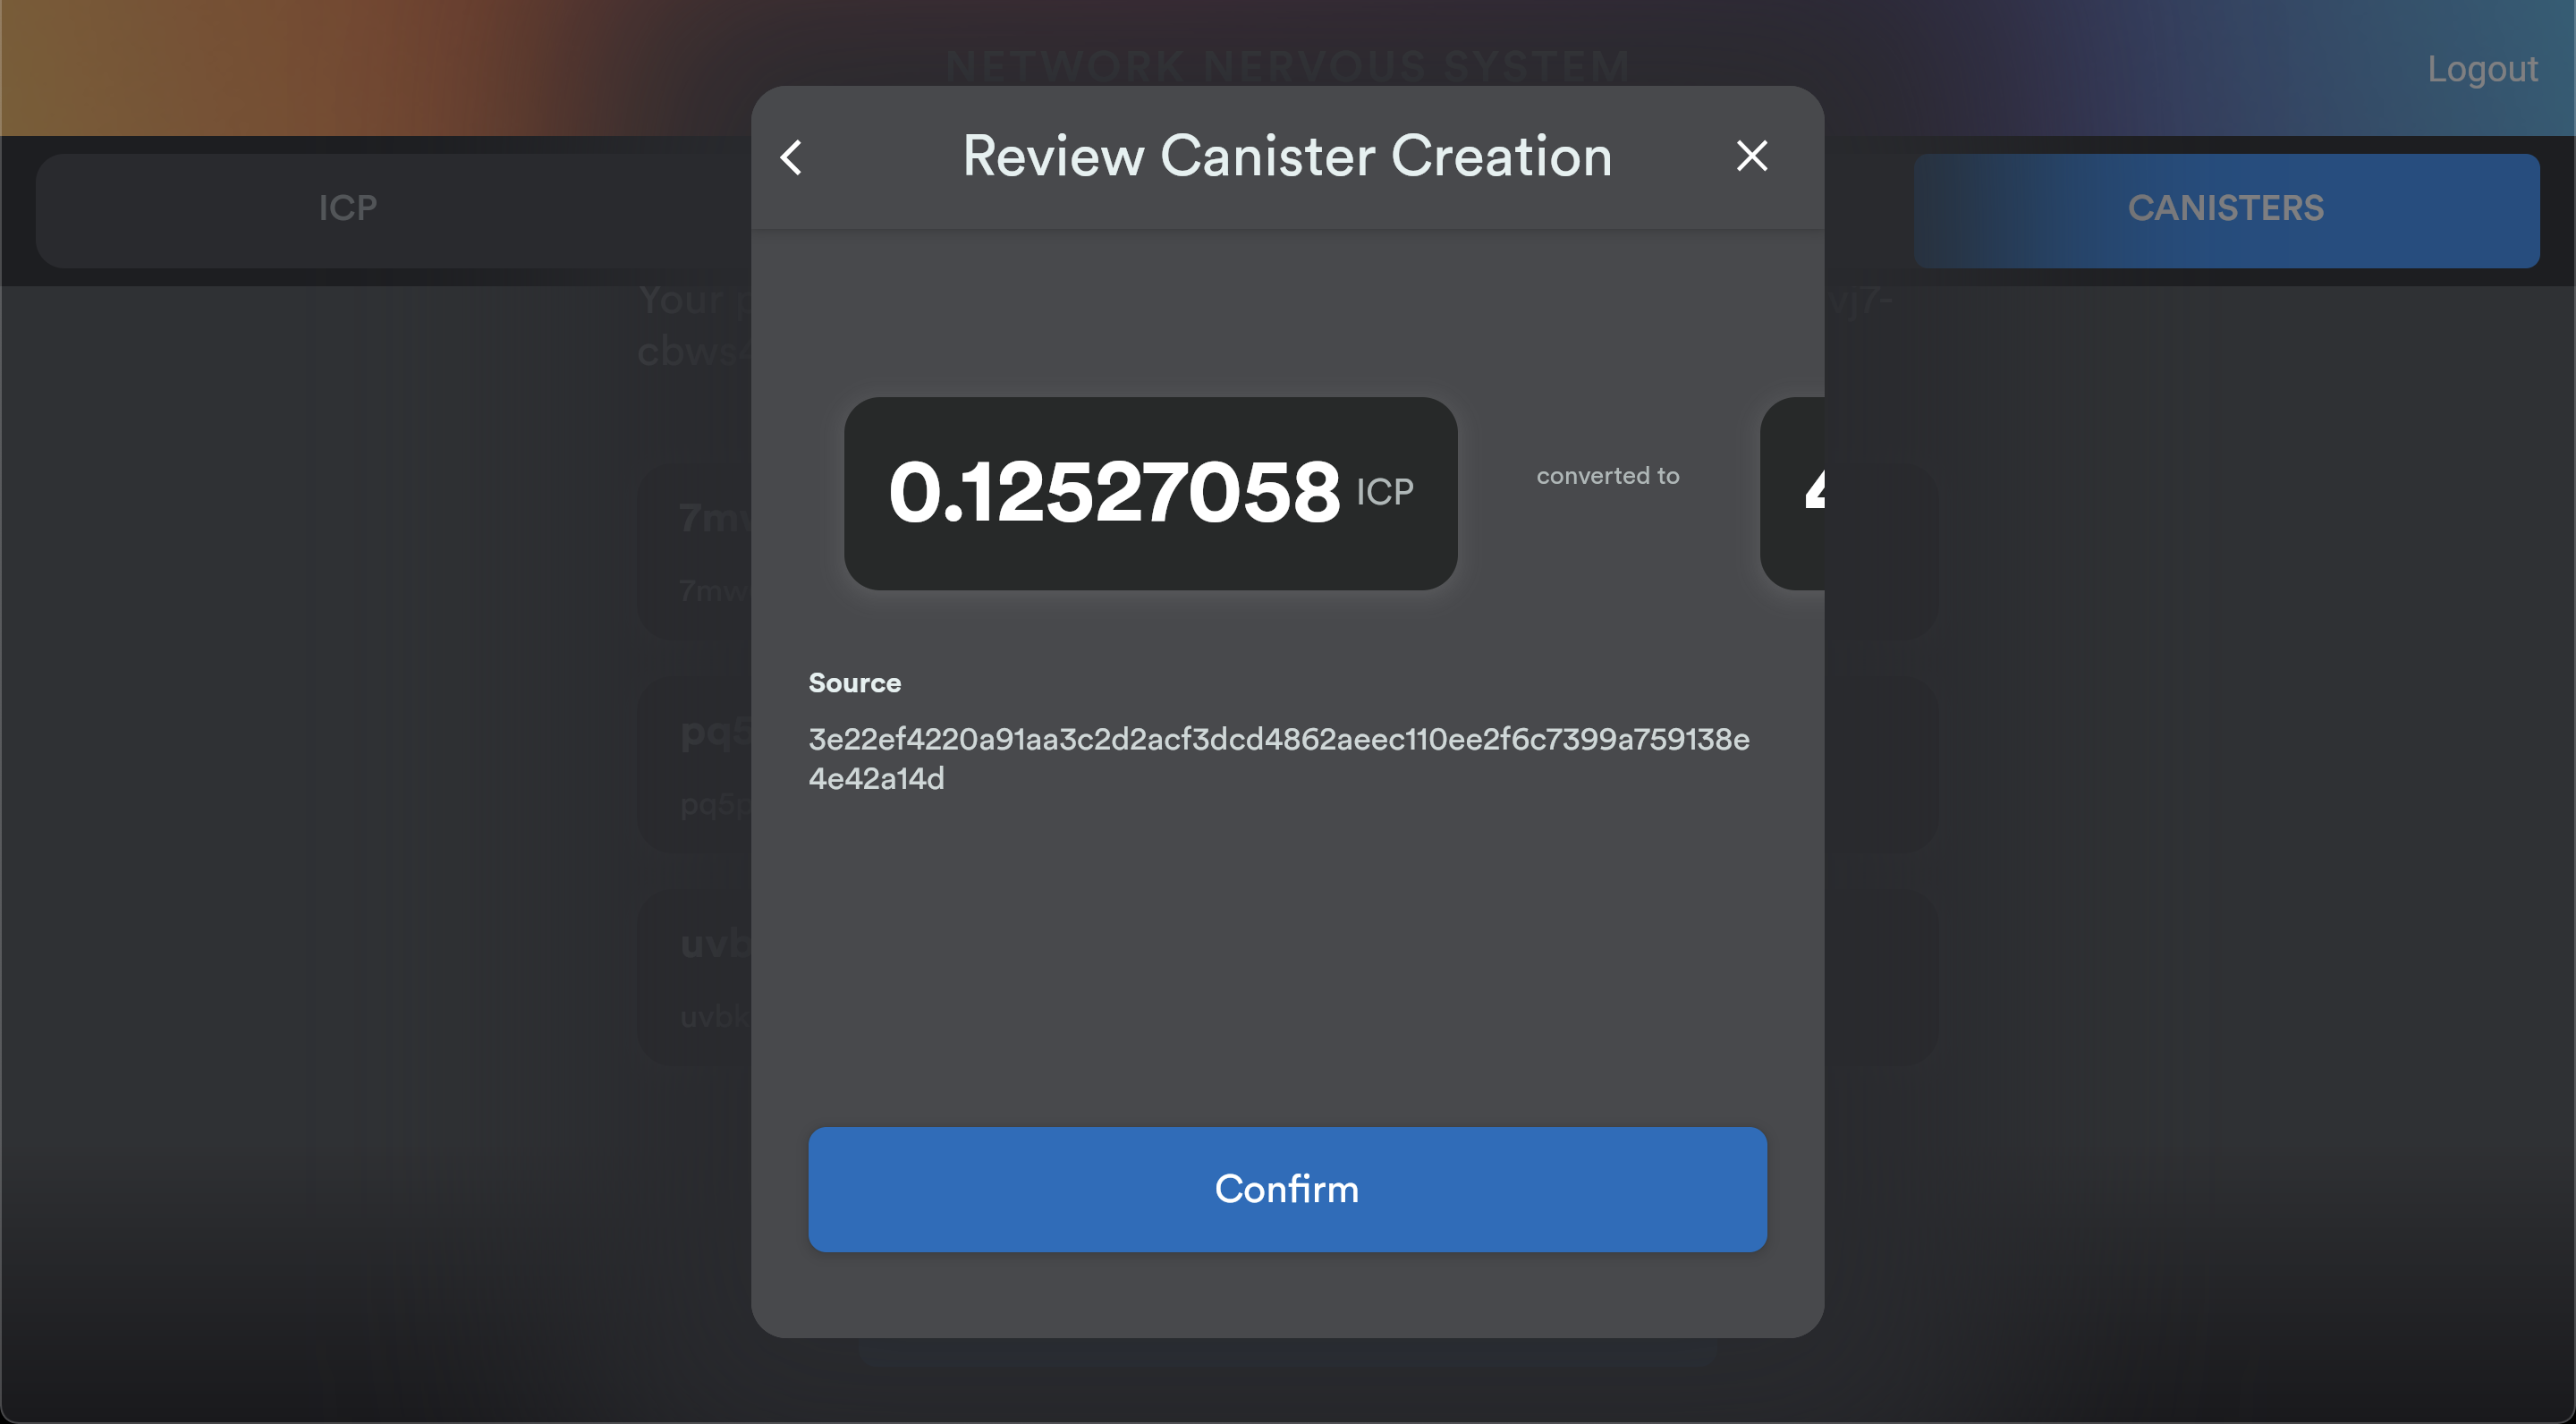 Review Canister creation
Click confirm again, and then you should be good to go!
 Successfully created Canister
Connecting your computer
For this example, I'll be using a super minimal website as the app we are deploying.
The app isn't important, but you should be in a directory with a valid dfx project for the next instructions. You can follow along directly by cloning this example project:
git clone https://github.com/krpeacock/ic-static-minimal.git
cd ic-static-minimal
Next, you'll need to get the principal from your computer by running
dfx identity get-principal
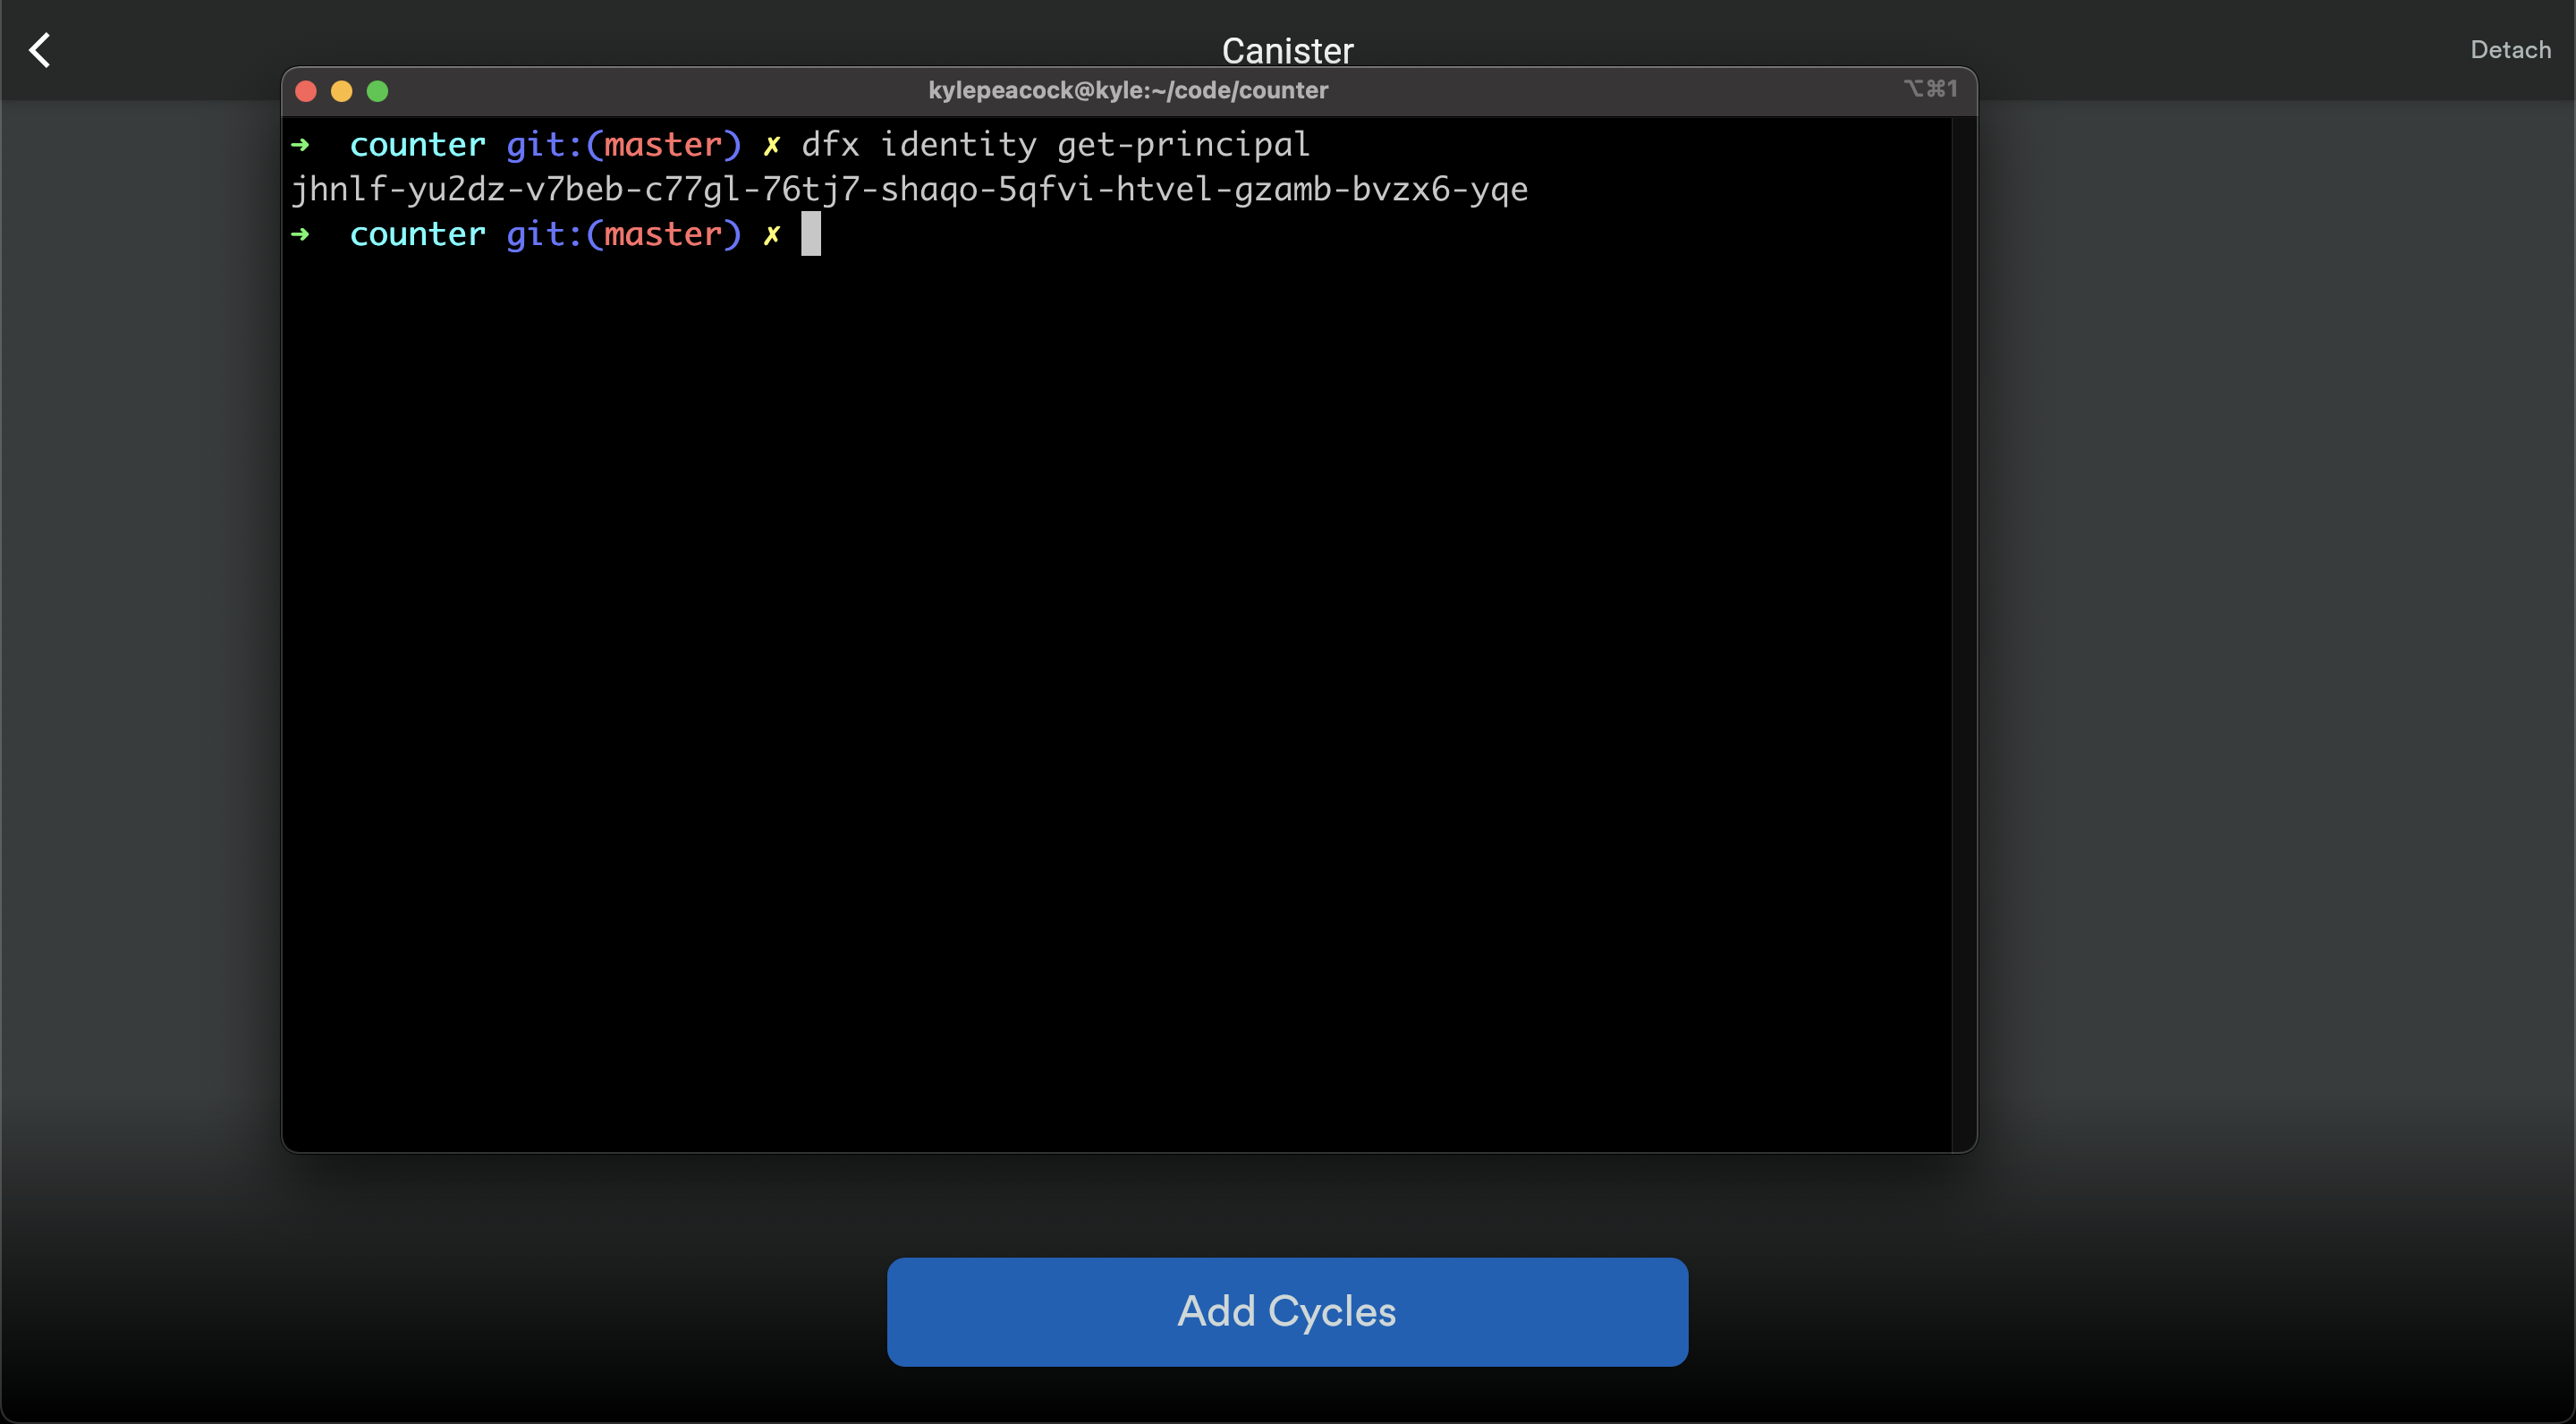 Fetching principal using terminal (ignore the directory name)
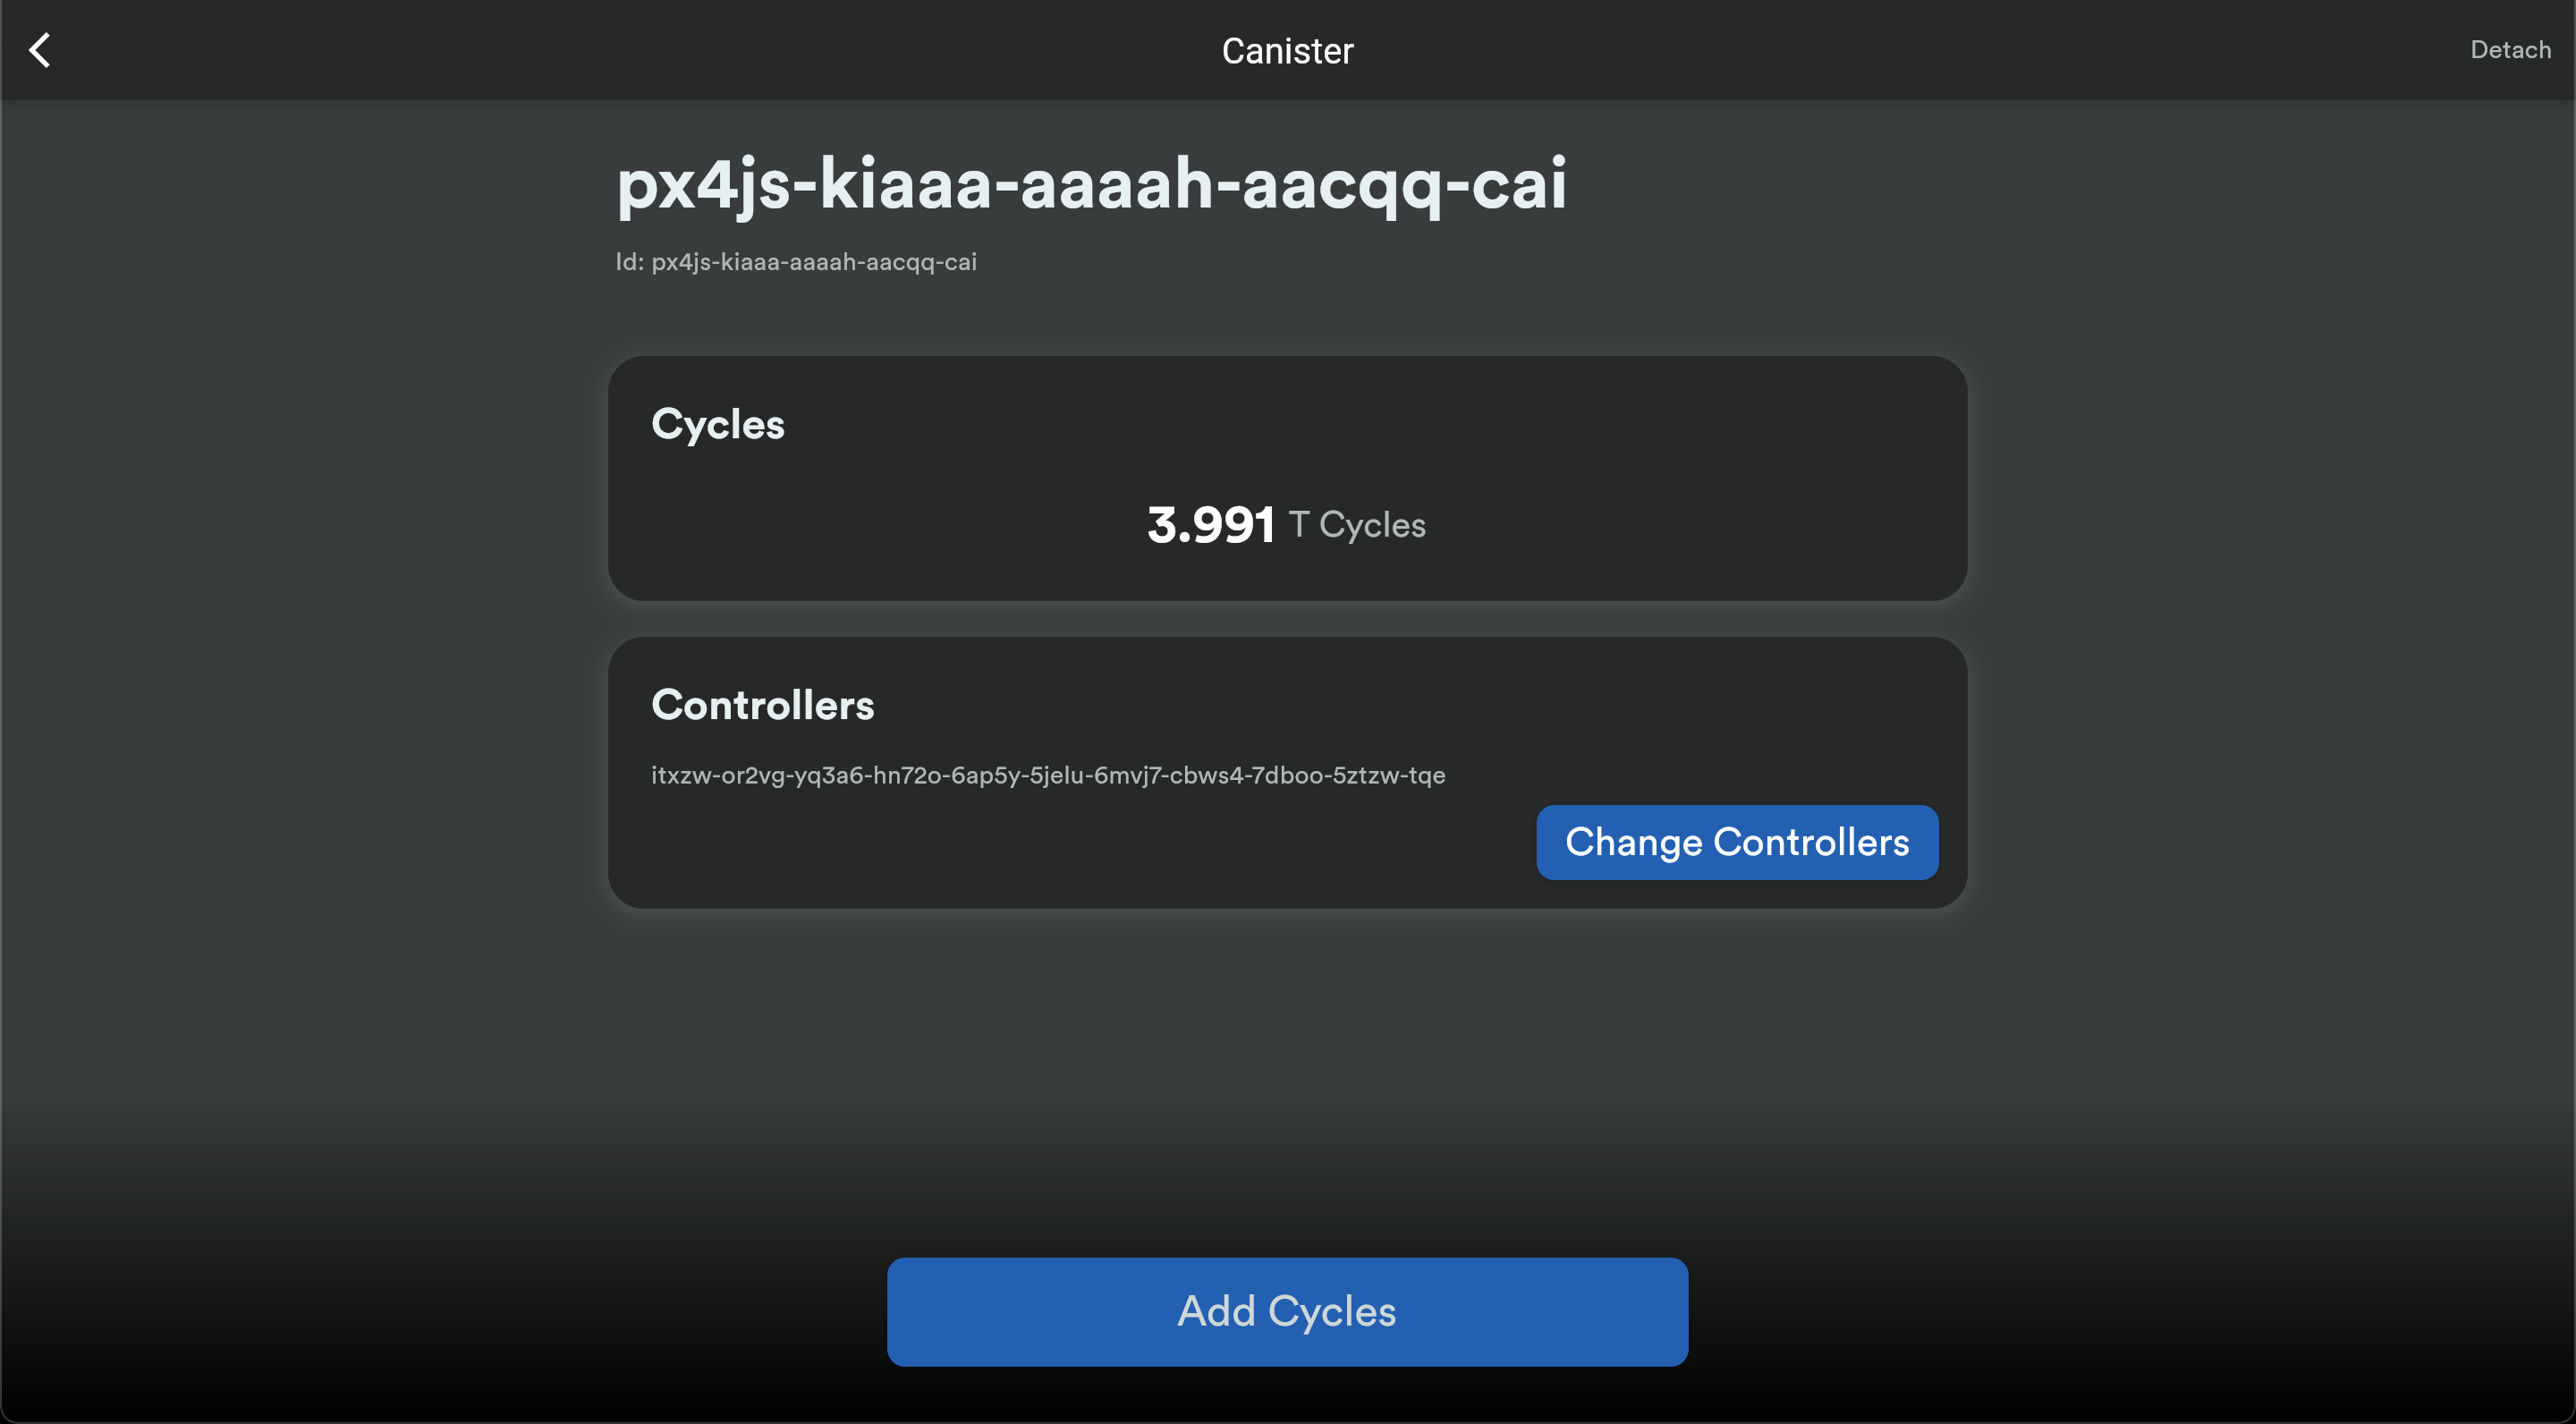
Copy that principal id and head back to your tab with your newly created Canister. Click the blue Change Controllers button to open up the controller management UI.
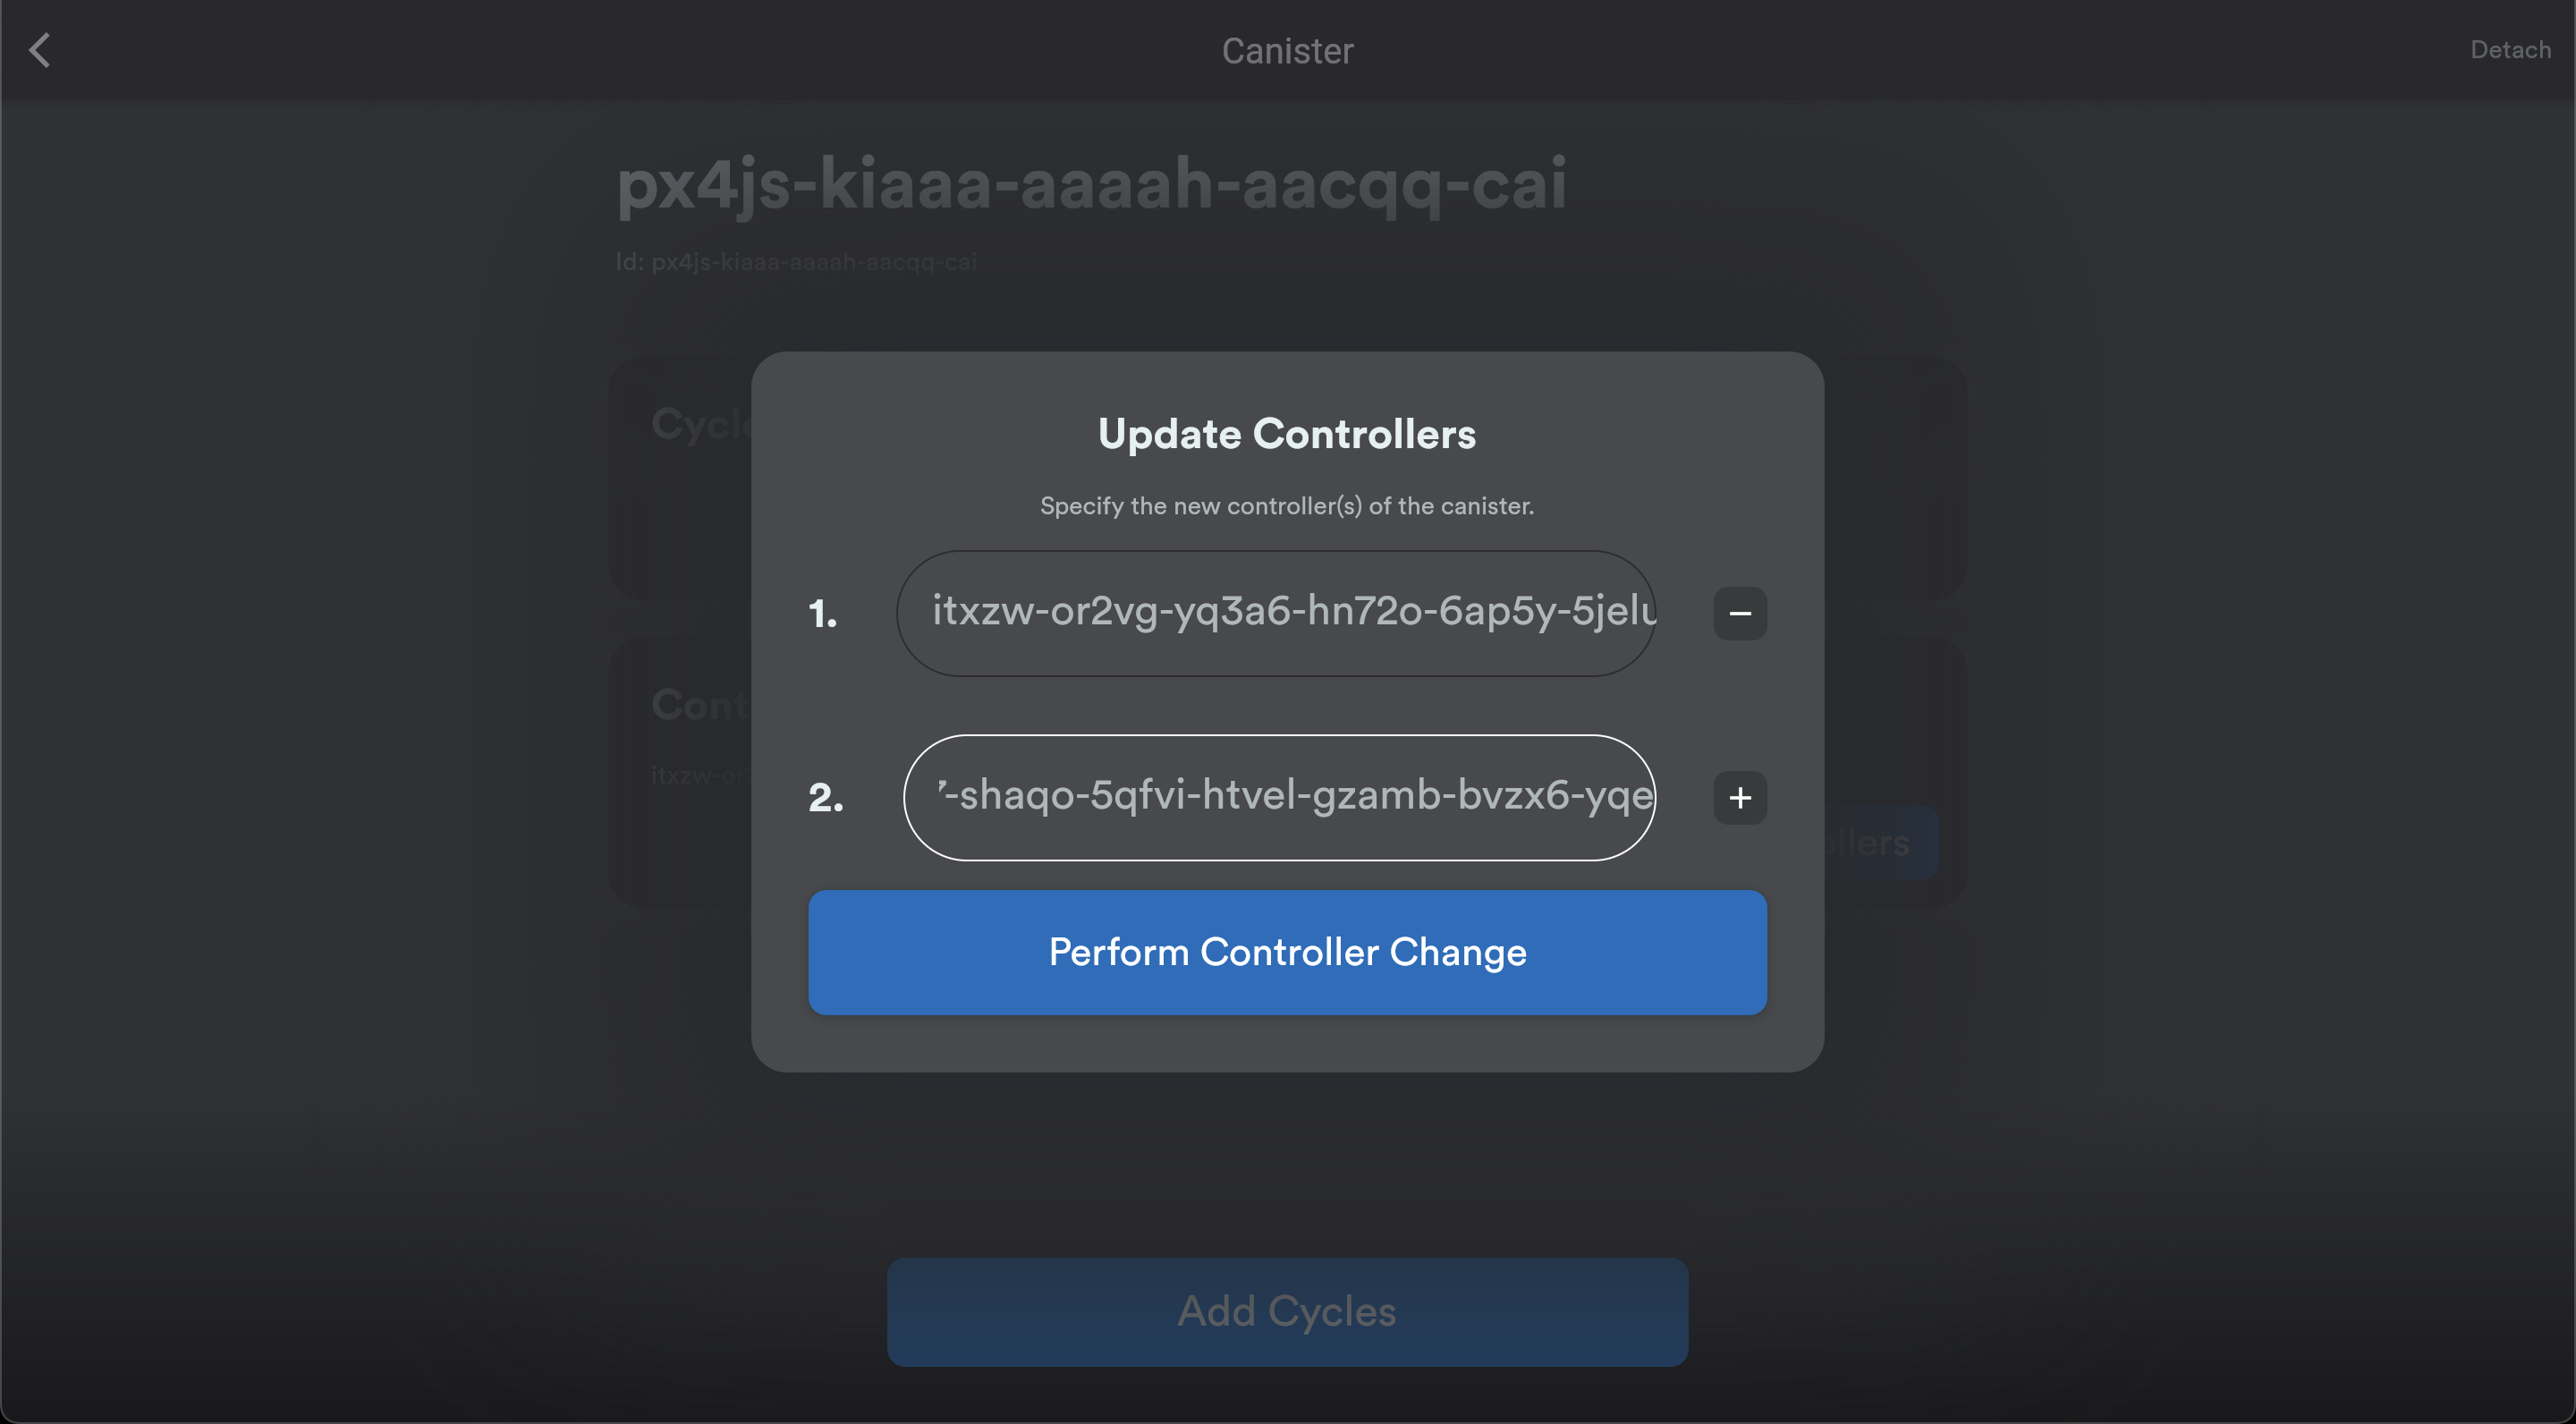 Entering principal id as a controller
Enter your principal in the empty second input, and then click Perform Controller Change. This step authorizes your dfx on your computer to deploy to your newly created Canister.
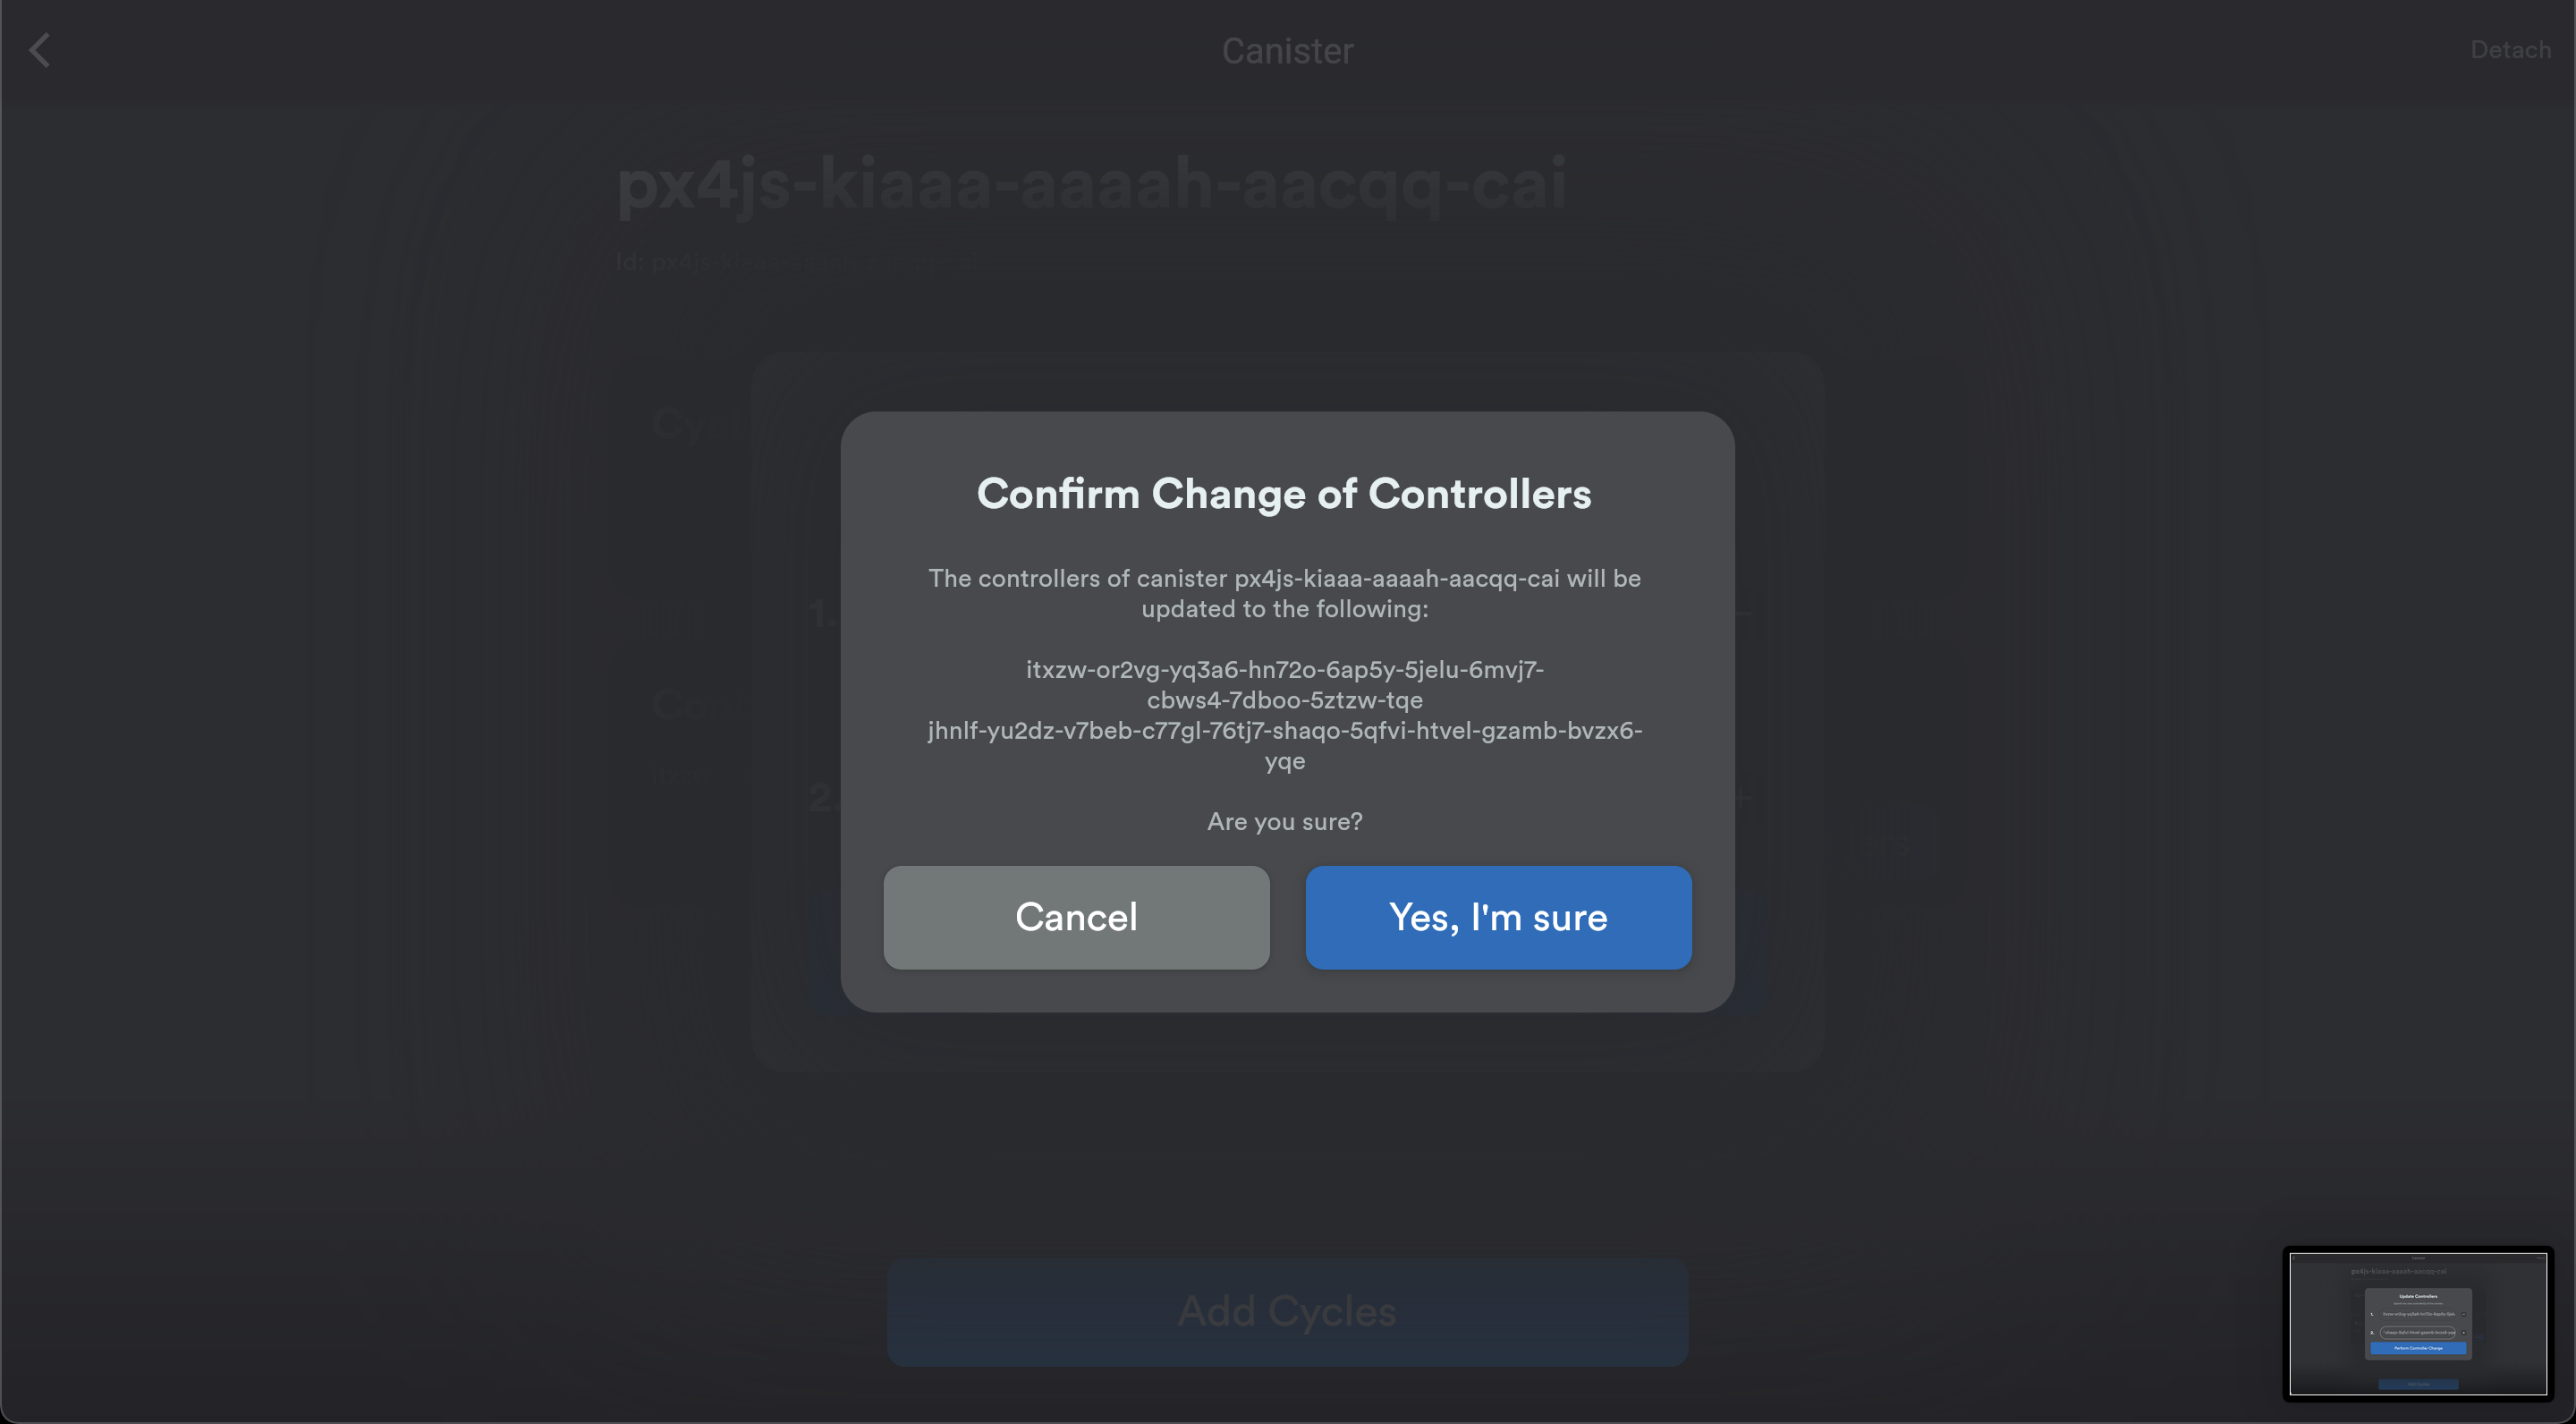 Controller change confirmation
After you accept the confirmation, copy your Canister ID. We're going to use it now to deploy your first Canister.
Deploy your Canister
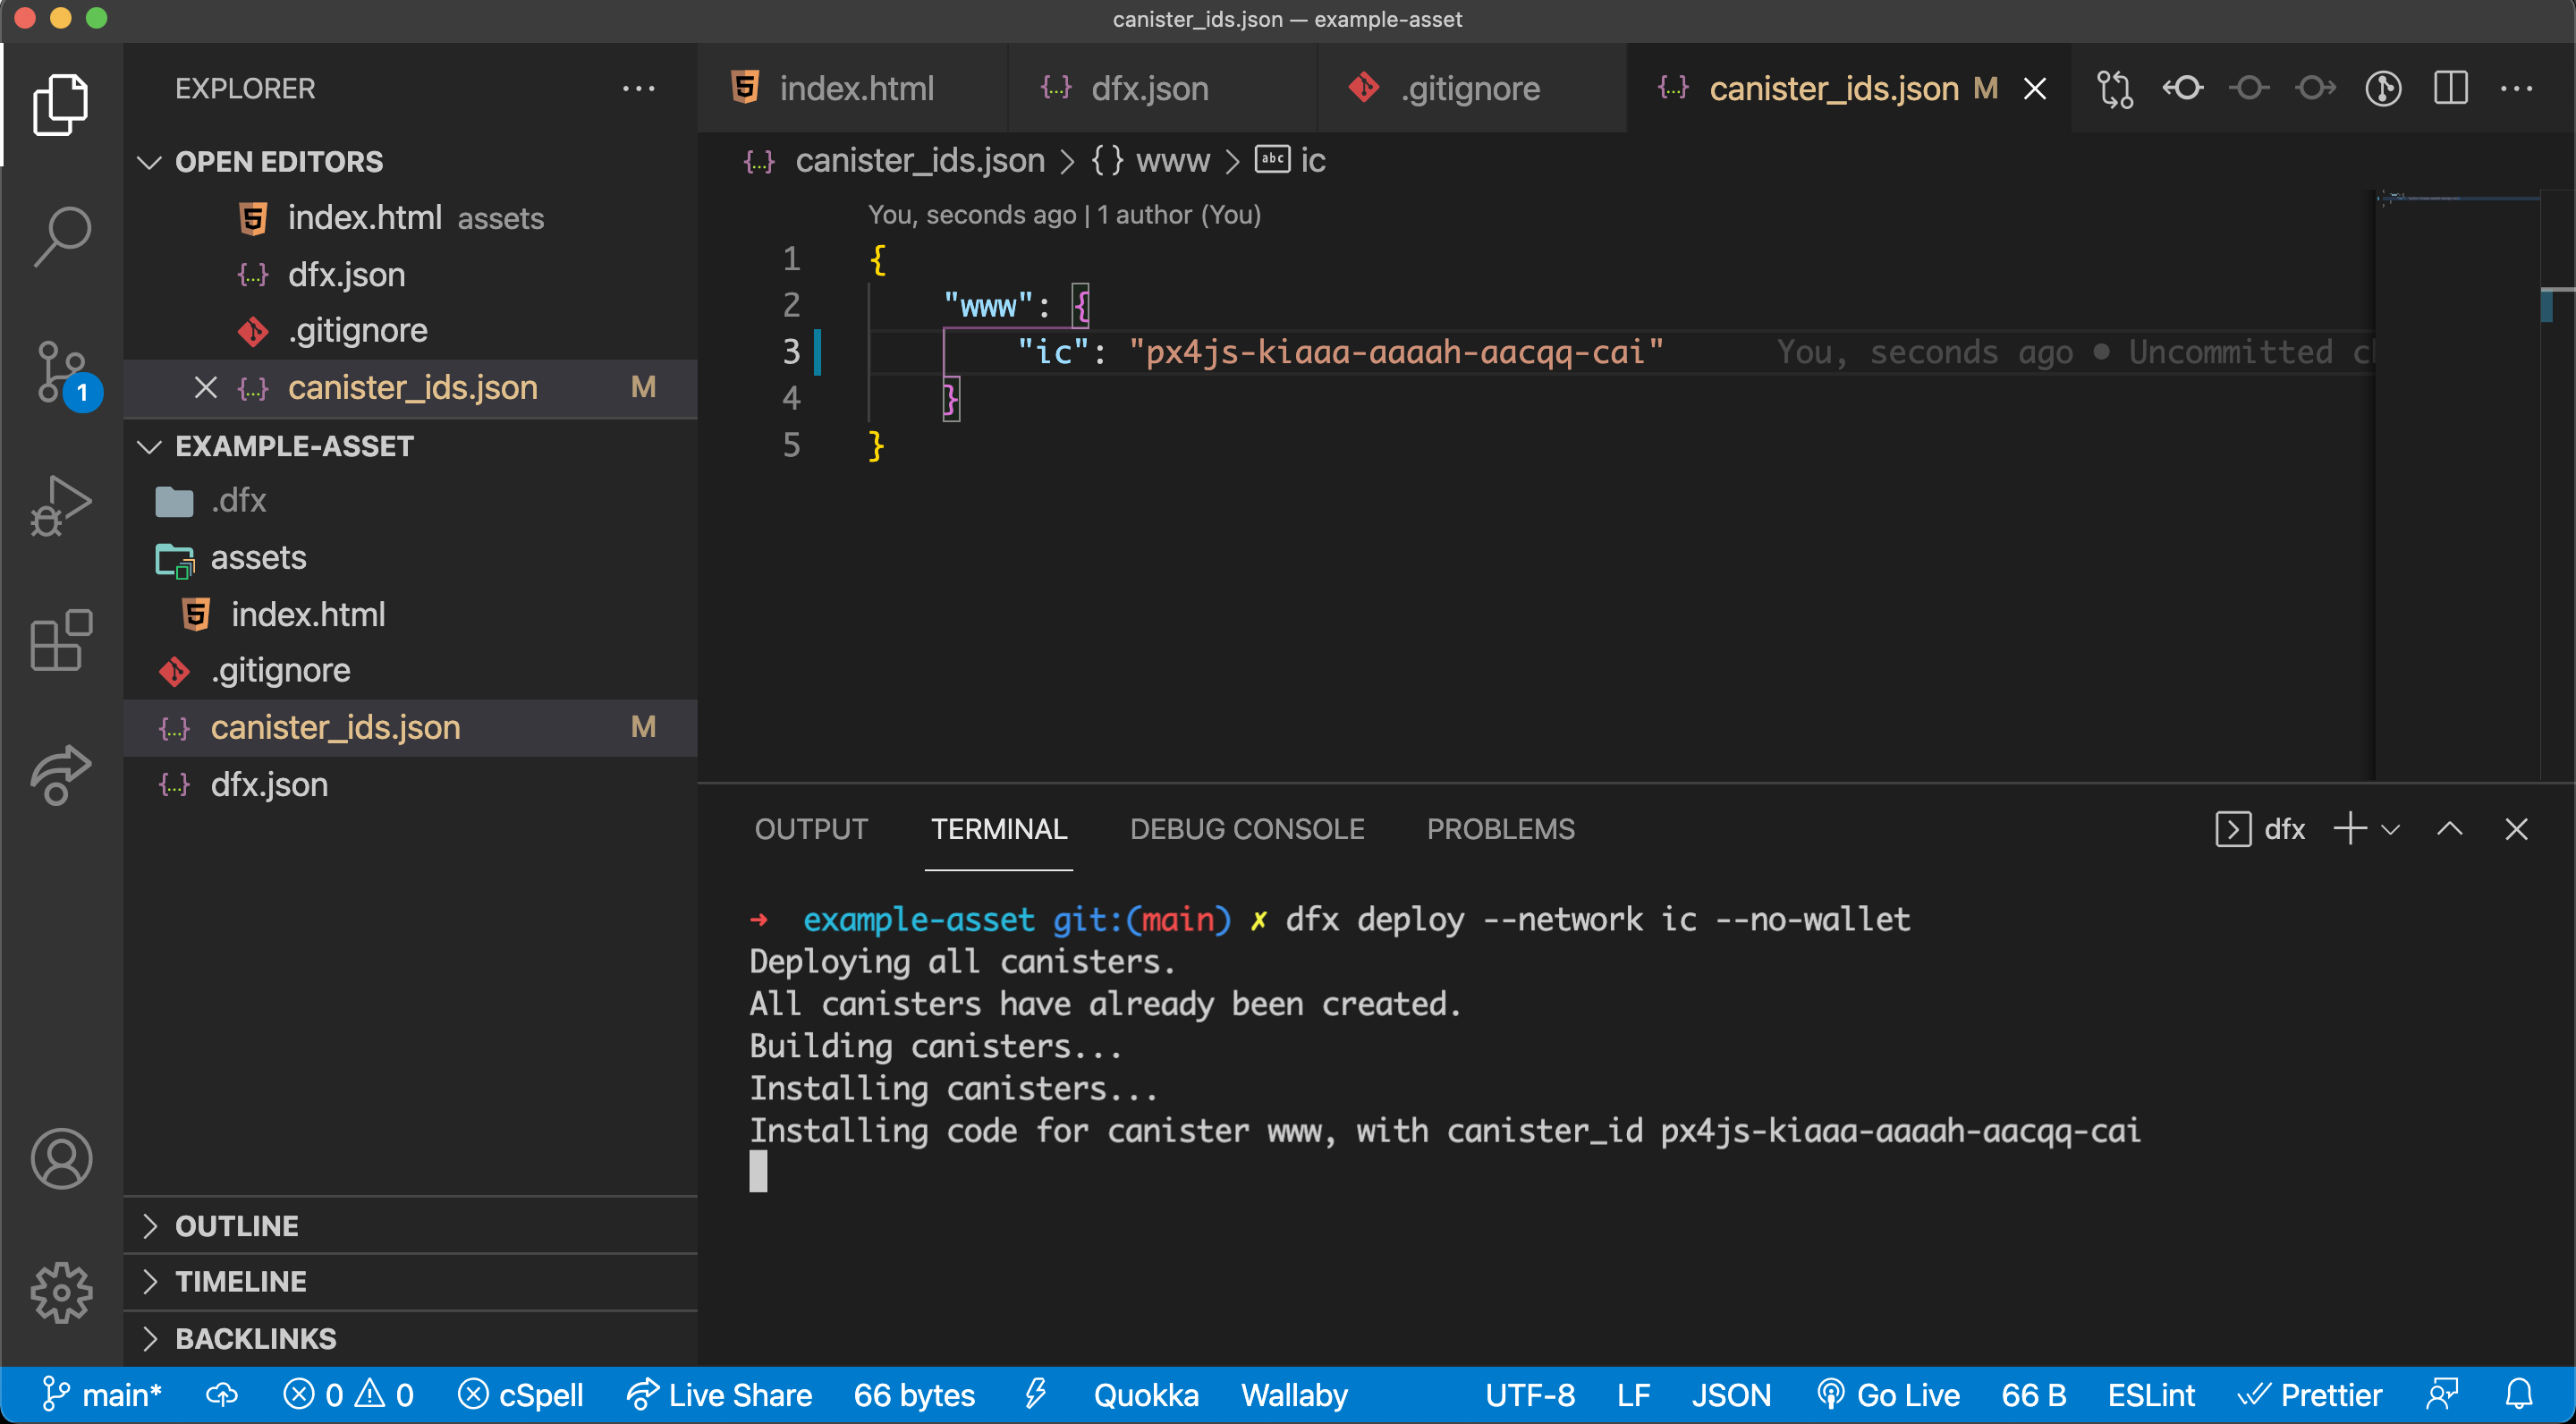
Open up the example project, and open the file canister_ids.json. Replace <canister-id> with your Canister ID inside the quotes, and save the file.
![Replace ,[object Object], in ,[object Object]](/static/customize-example-site-4d6d8c64519a6bbe7c6470080ed665ef.png) Replace
Replace <canister-id> in canister_ids.jsonThen, you'll need to run
dfx deploy --network ic --no-wallet
to deploy an asset Canister, hosting the index.html file under /assets. This will deploy an incredibly simple static website to the Internet Computer.
Breaking down the command, dfx is deploying the project using the config from dfx.json. We flag that the network should be IC, which is the production replica where you just created your Canister. Then, we say --no-wallet, indicating to DFX that you are deploying your Canister directly to an existing Canister using your principal.
 Deploying the site
Finally, once the deployment is successful, open up a tab in your browser to <canister-id>.ic0.app, once agein replacing <canister-id> with your Canister ID.
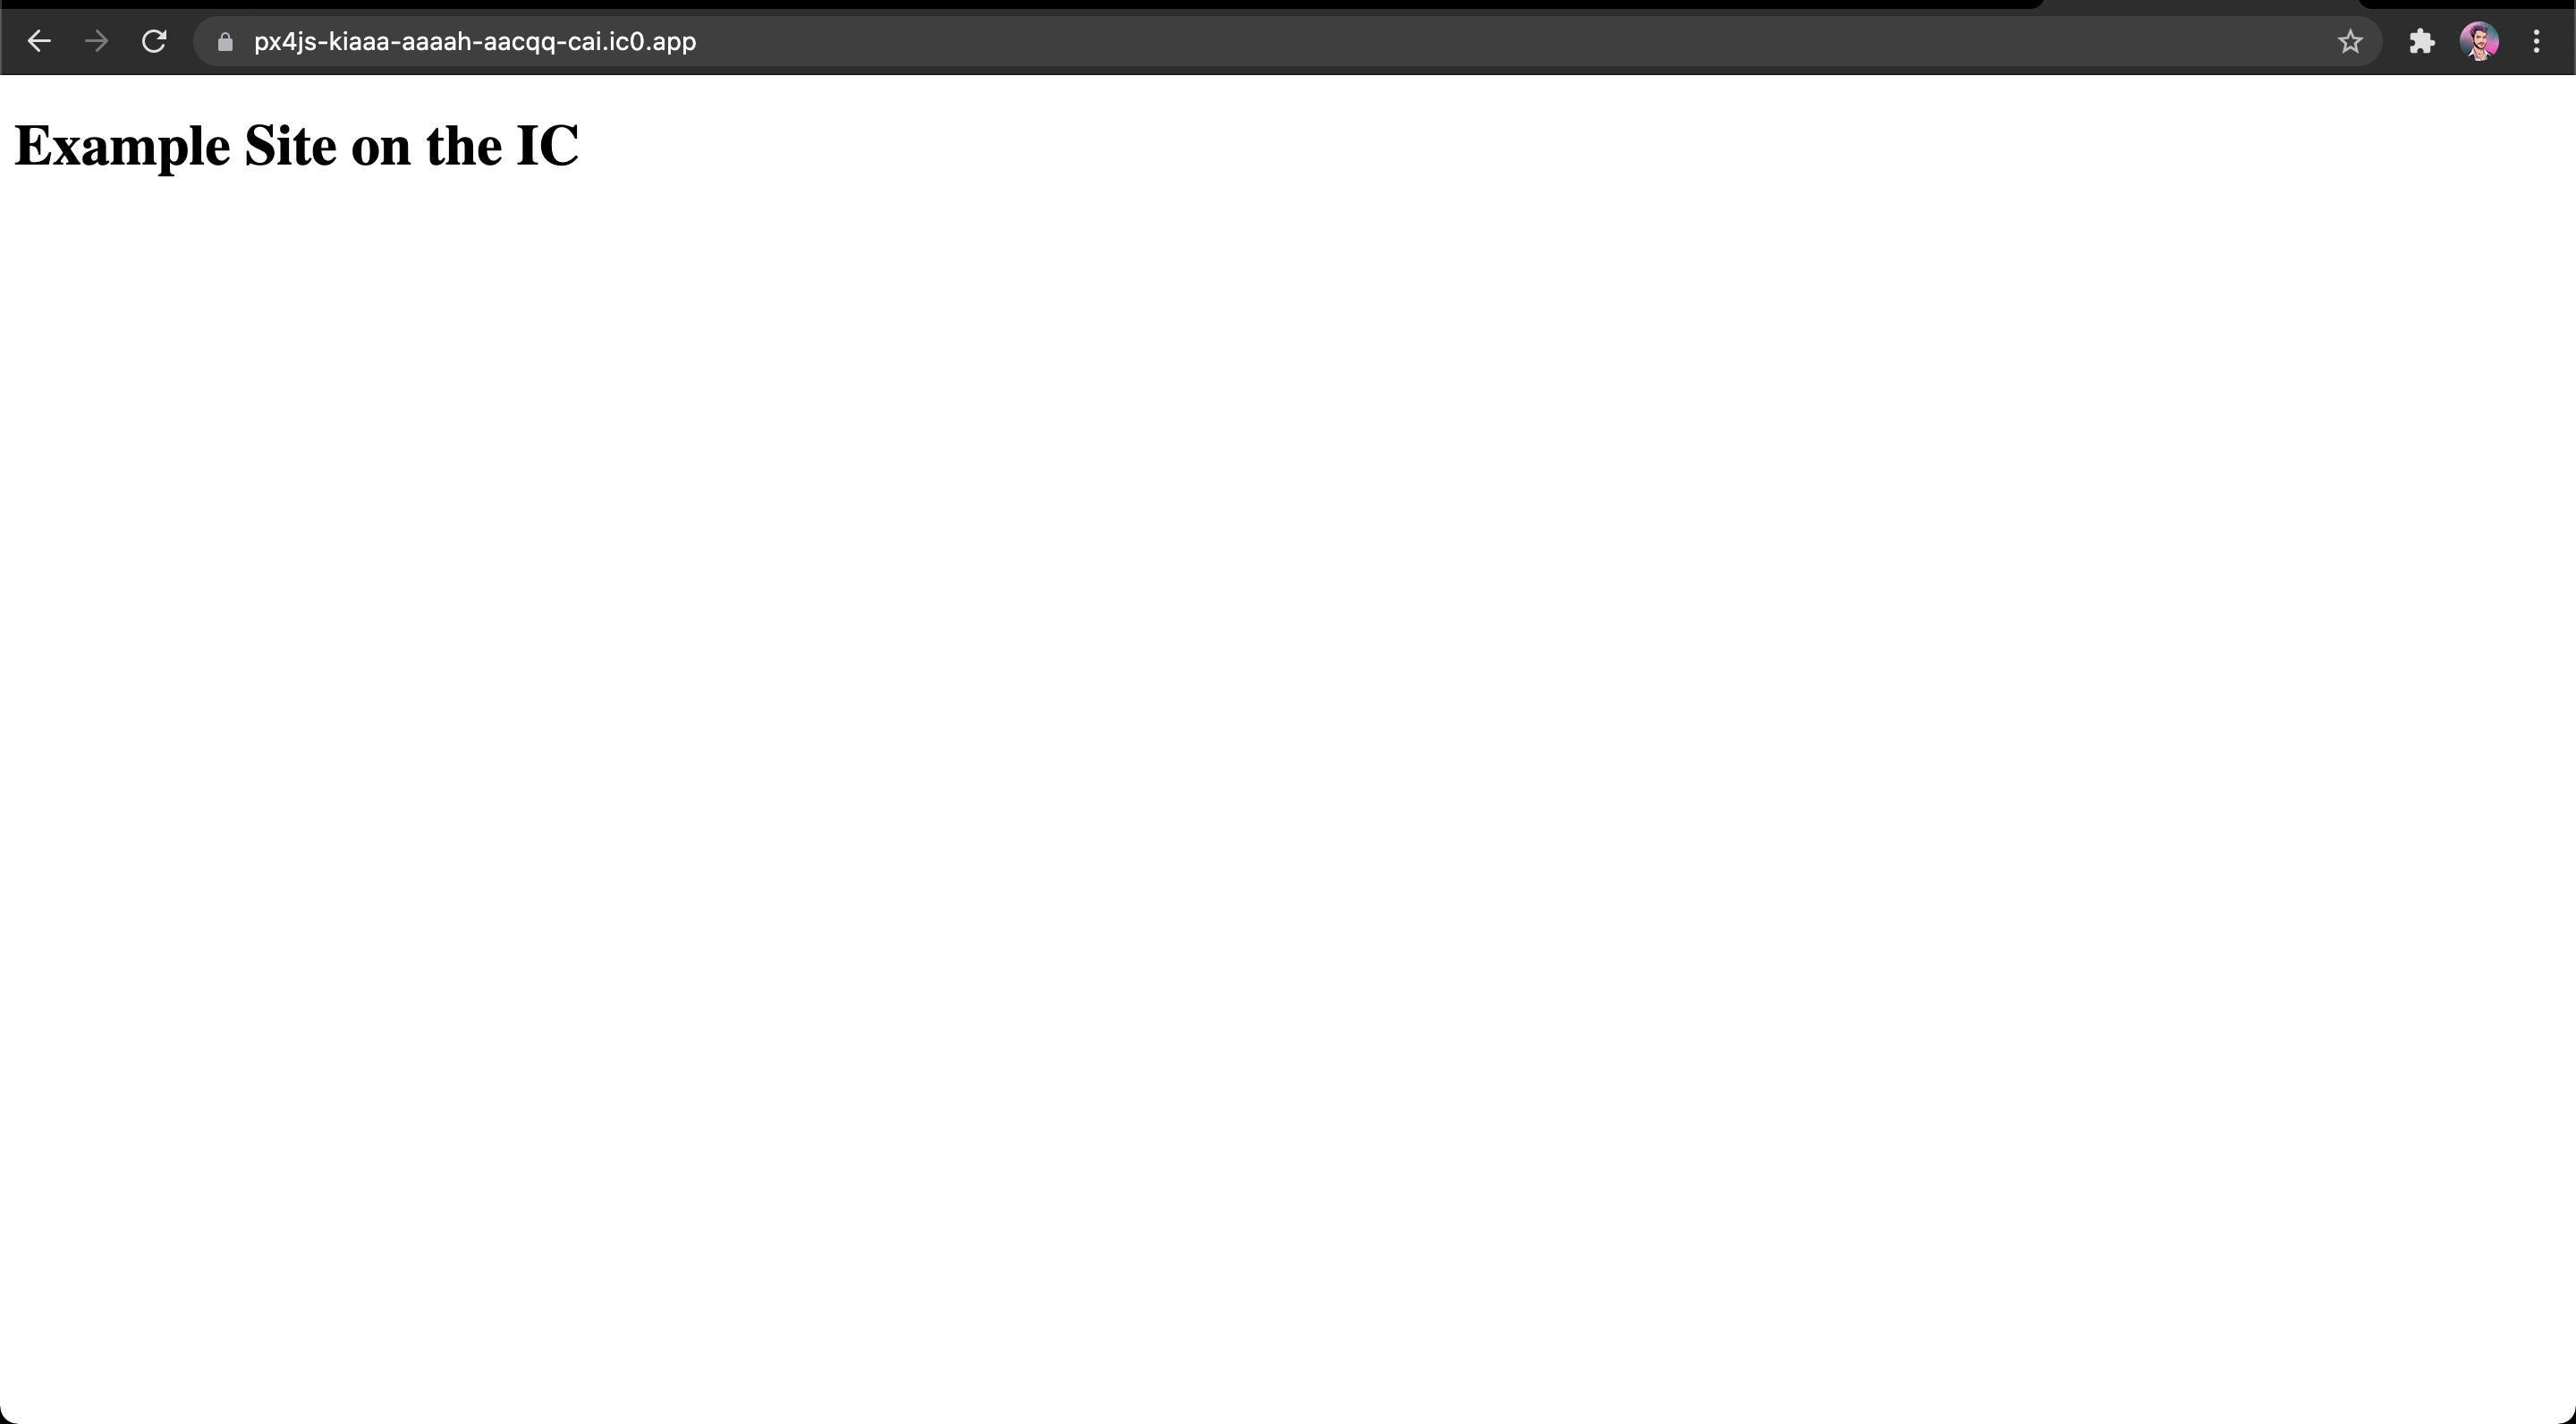 Live site
If all goes well, congrats! You should have your new site live on the Internet Computer.
Try making changes to index.html and re-deploying with dfx deploy --network ic --no-wallet to see your updates go out, running directly on the IC's distributed network!